Instructions
Upgrading Your G3 Camera's Firmware
Steps
-
Login to your camera's web interface by typing in its IP address or .local address. For example http://ptzoptics.local
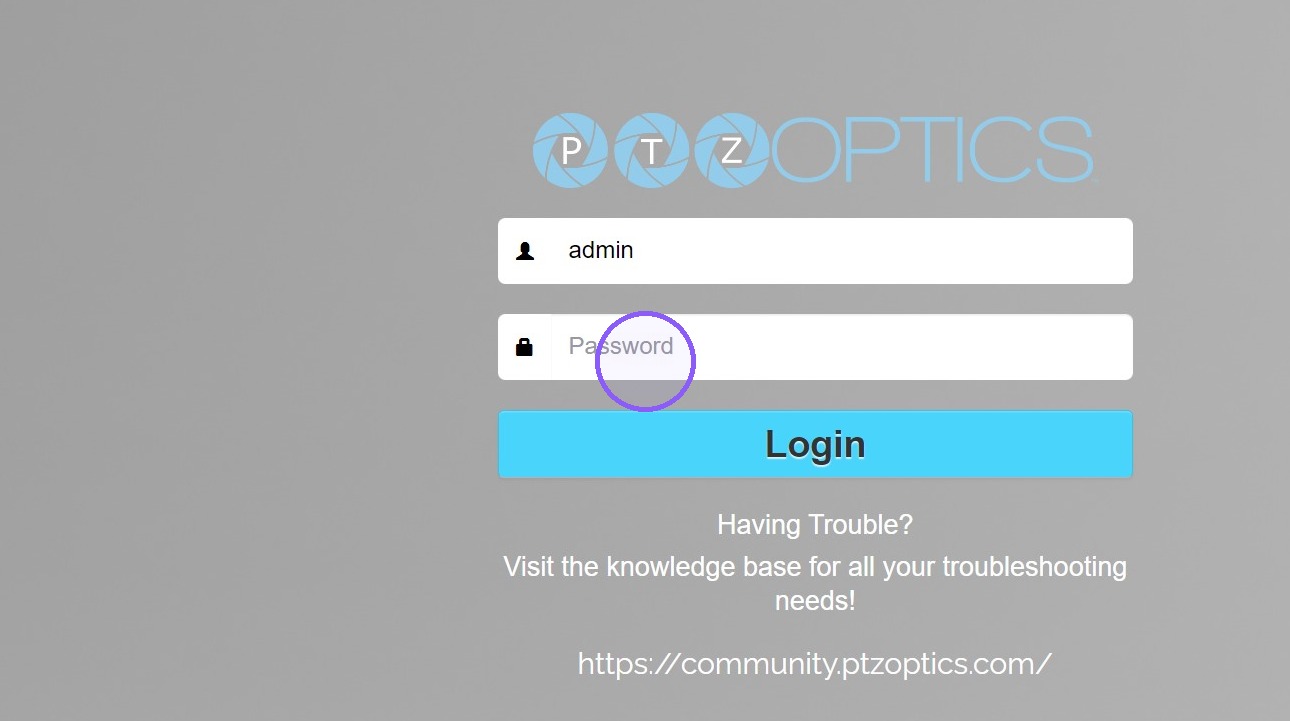
If this is your first time logging in, you will be prompted to create a username and password.
-
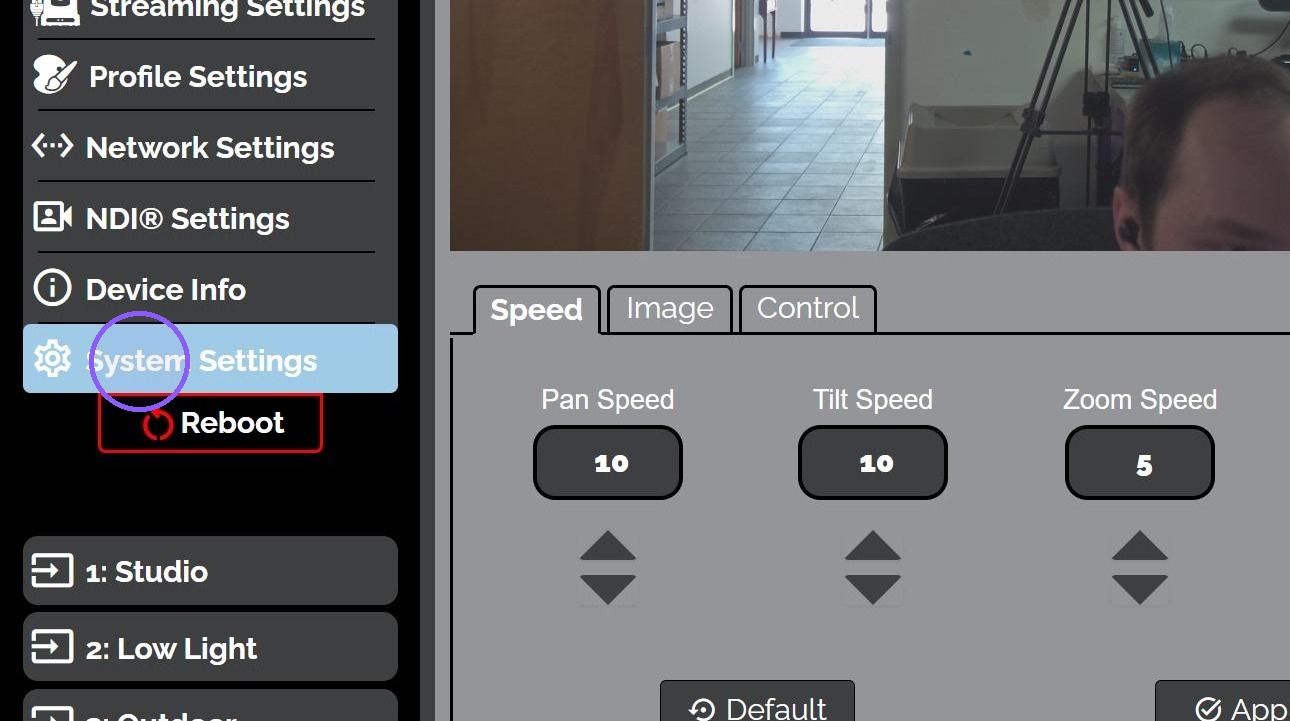
Once logged in, go to the System Settings page.
-
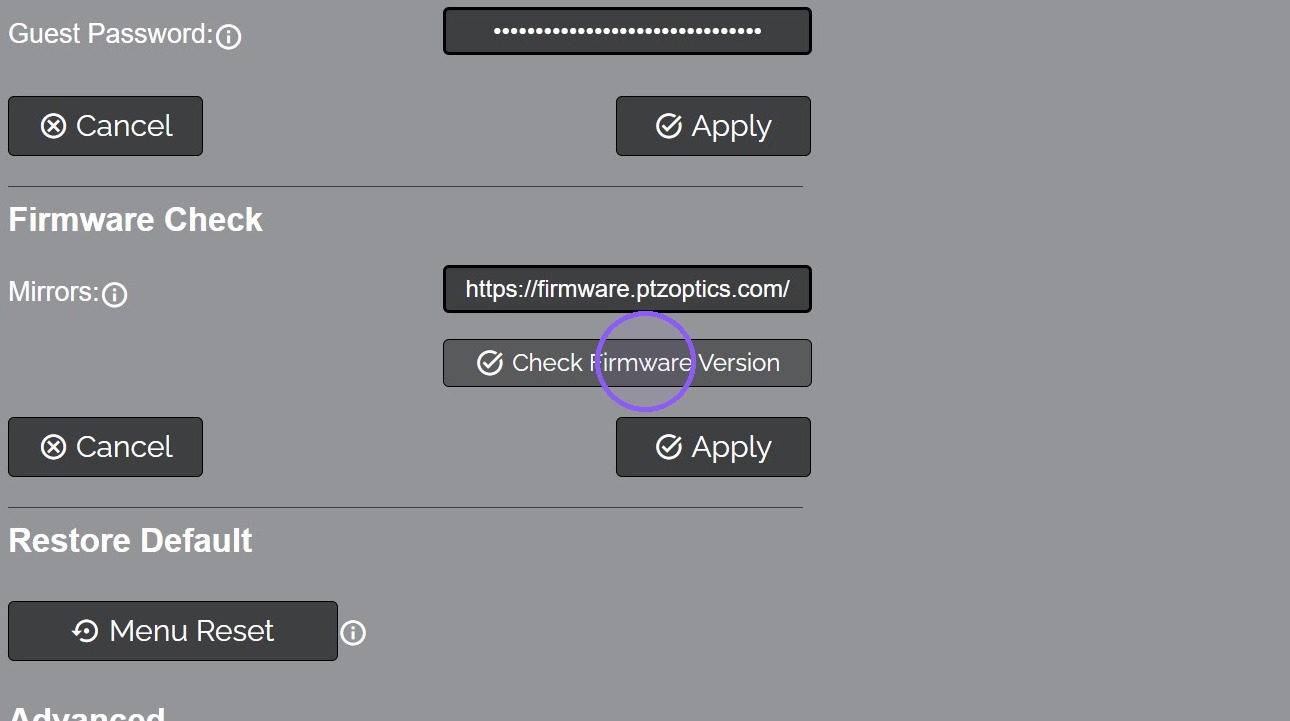
Click the Check Firmware Version button.
-
Click the Apply button to download the latest firmware file.
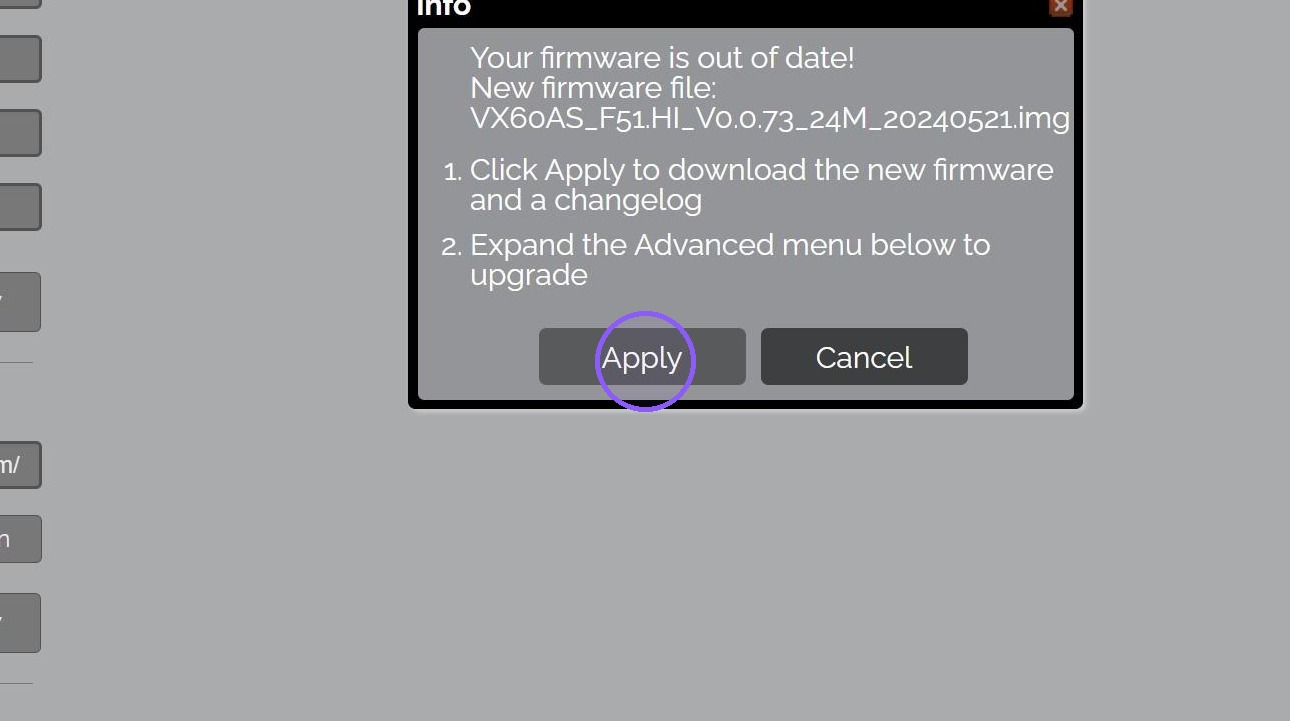
-
You may be prompted to download multiple files. Click "Allow" to download the firmware and changelog files.
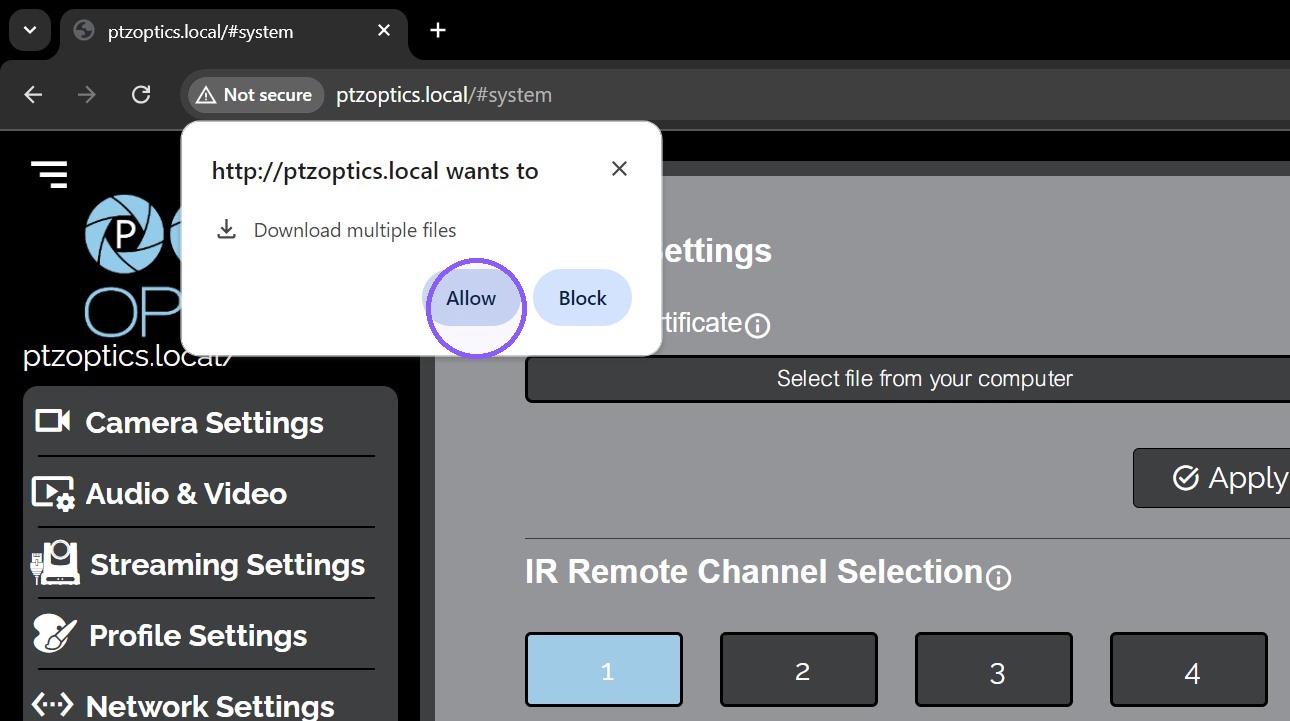
-
You may be prompted to approve the download. Click the Keep button on the changelog to approve the download.
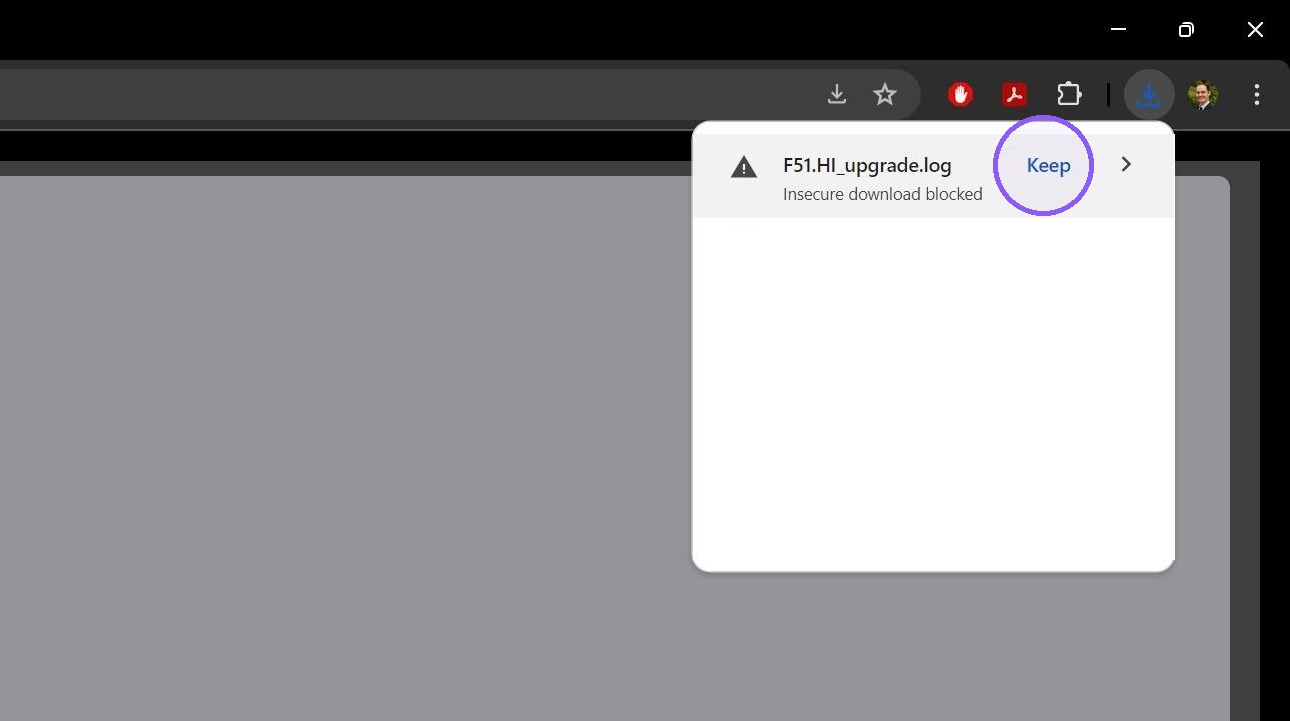
-
Now click the Keep button on the firmware file to approve the download.
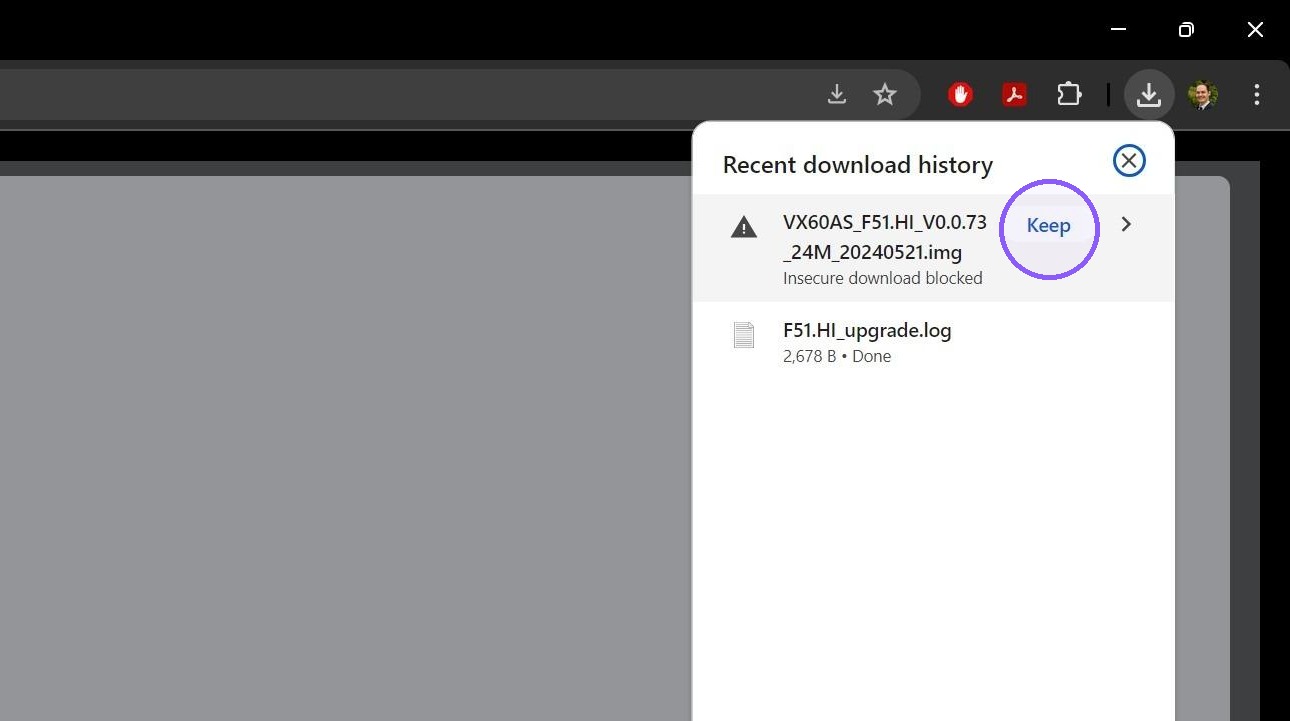
-
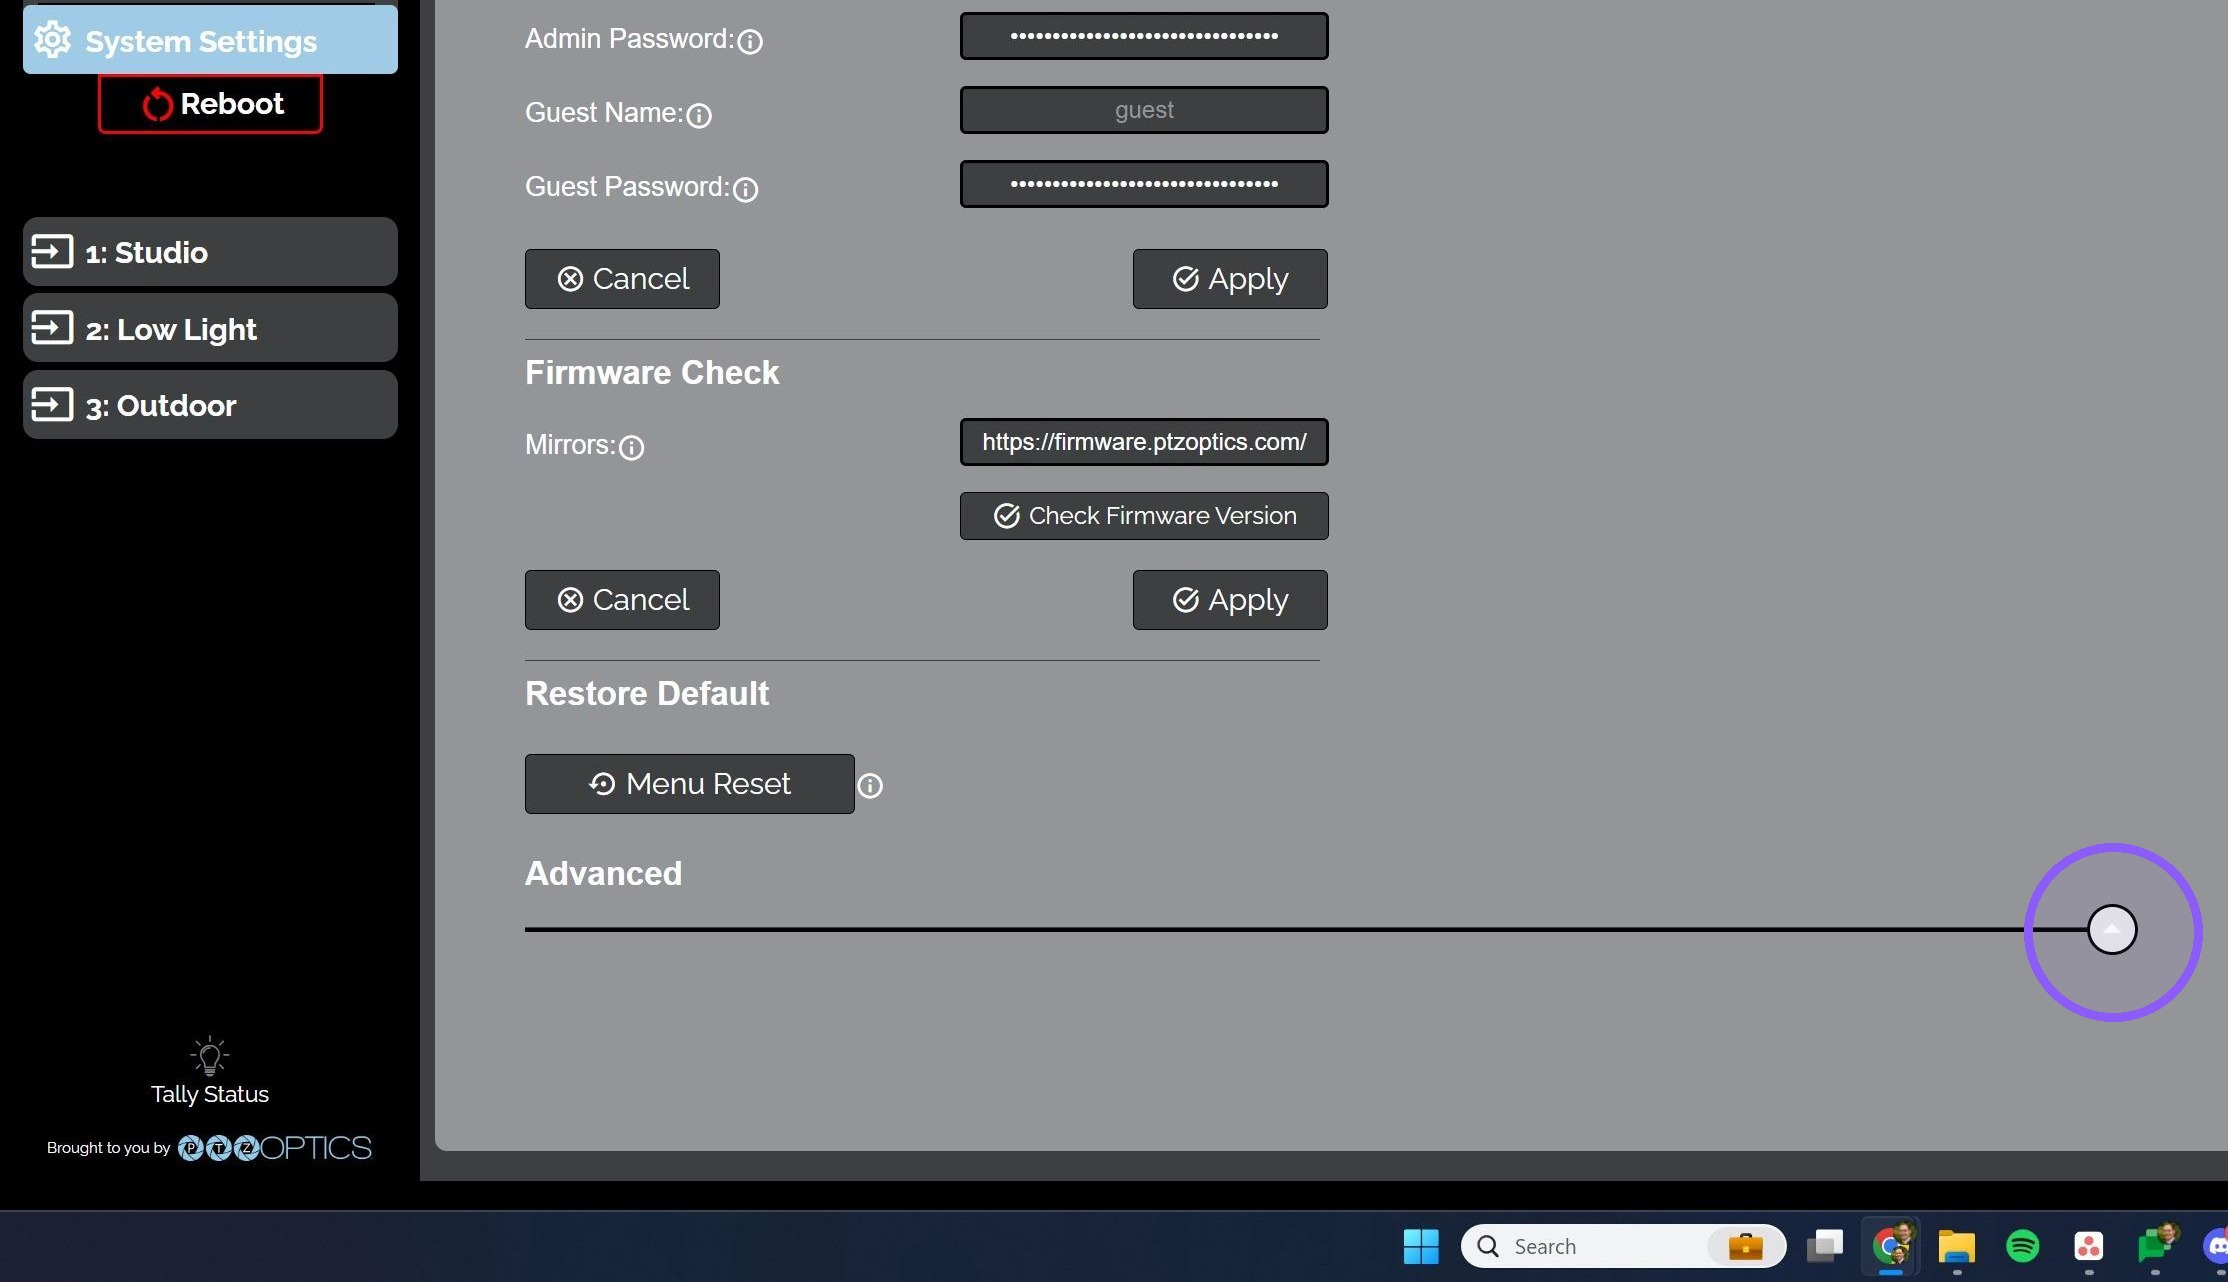
Click the arrow to reveal the Advanced section of System Settings.
-
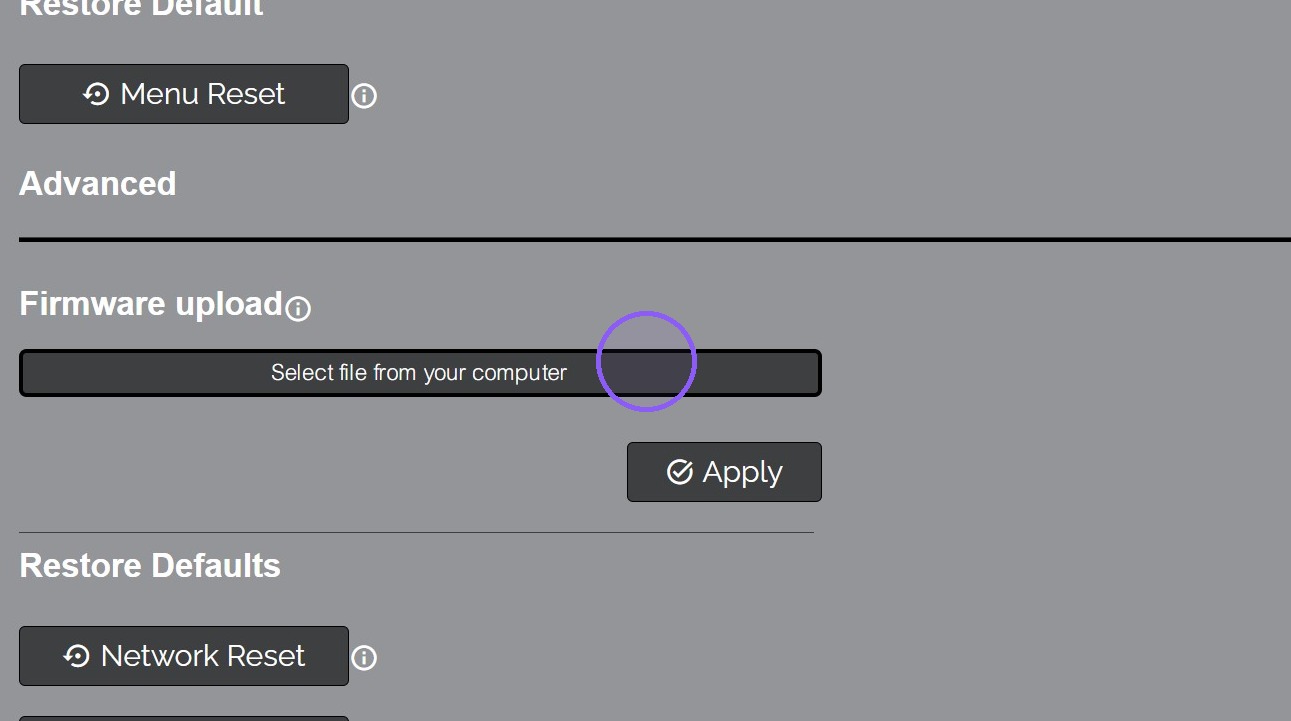
Click the Select File button.
-
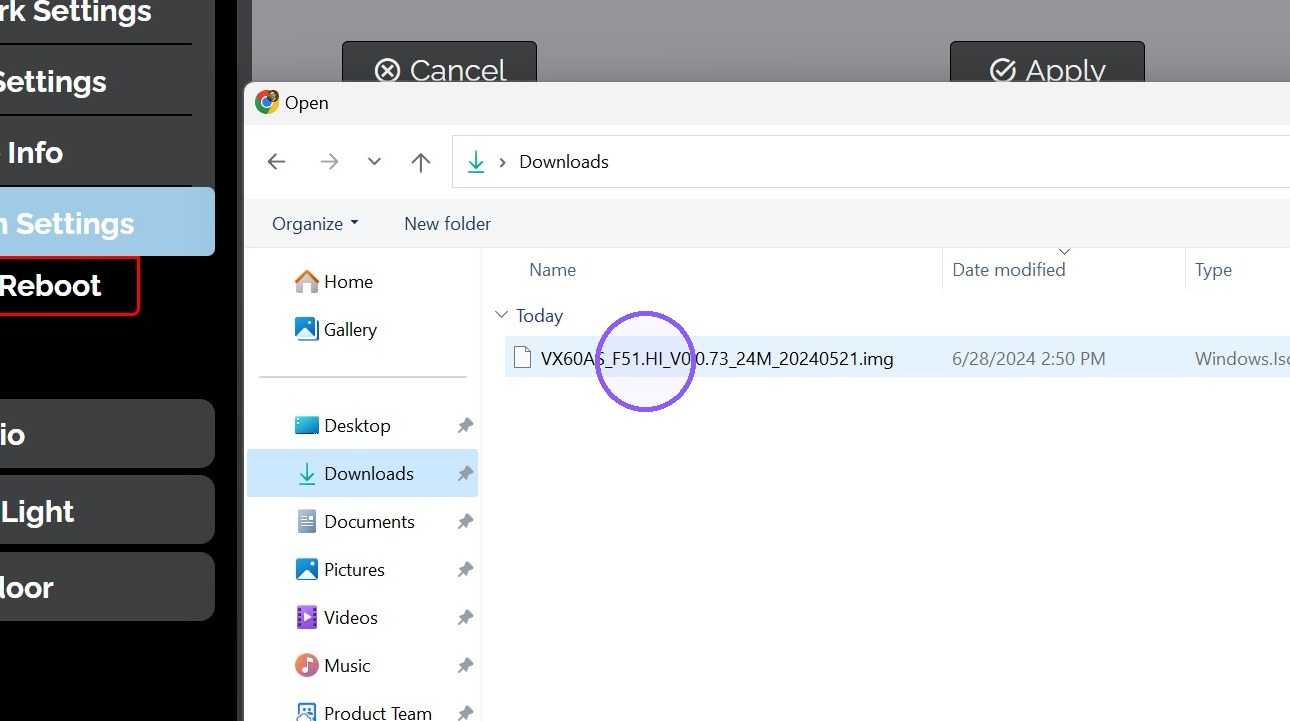
Navigate to the Download folder and select the *.img firmware file.
-
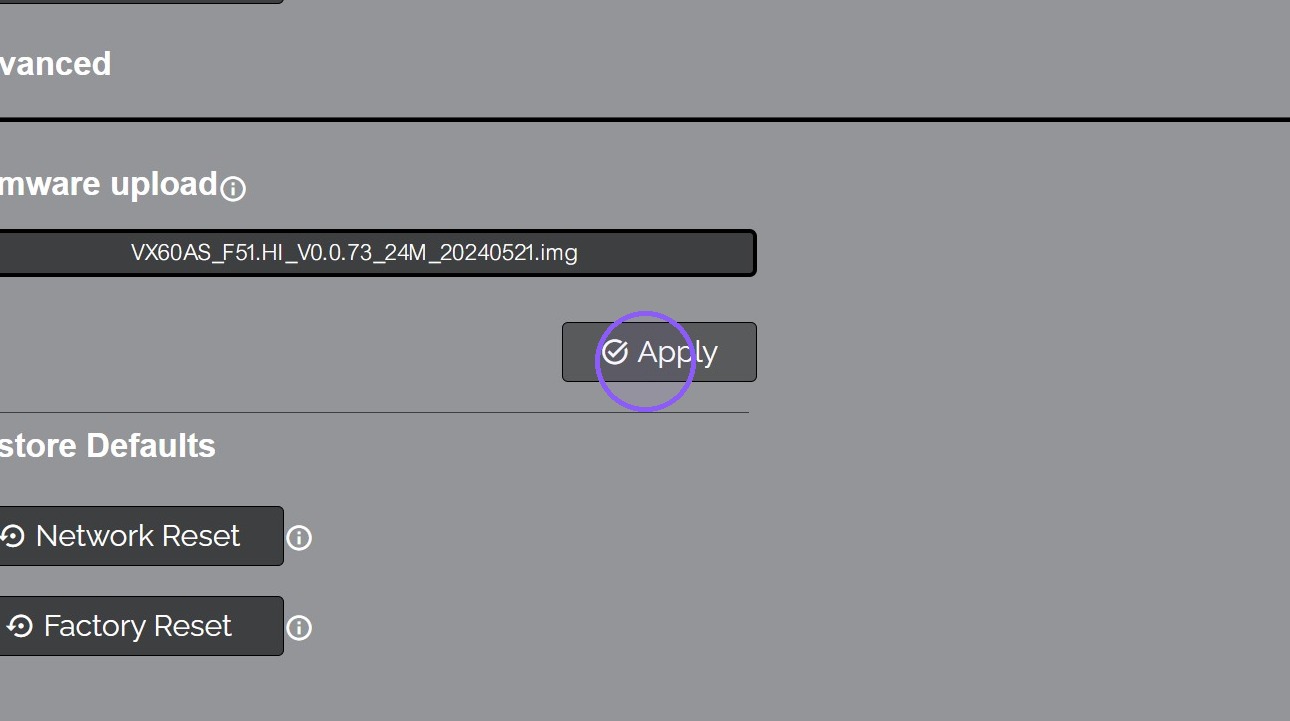
Click the Apply button to upload the firmware to the camera.
-
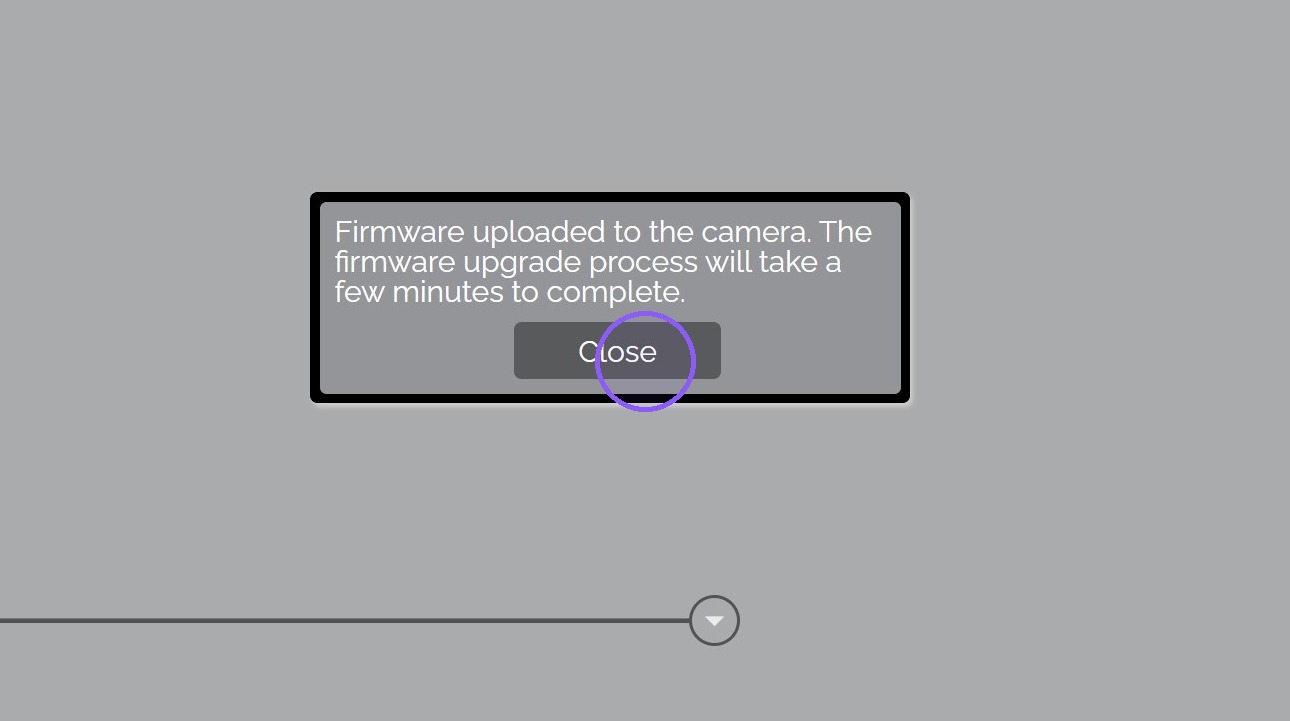
In 1 ~ 3 minutes a notification will pop up informing you the firmware has been uploaded and will take a few minutes to complete.
-
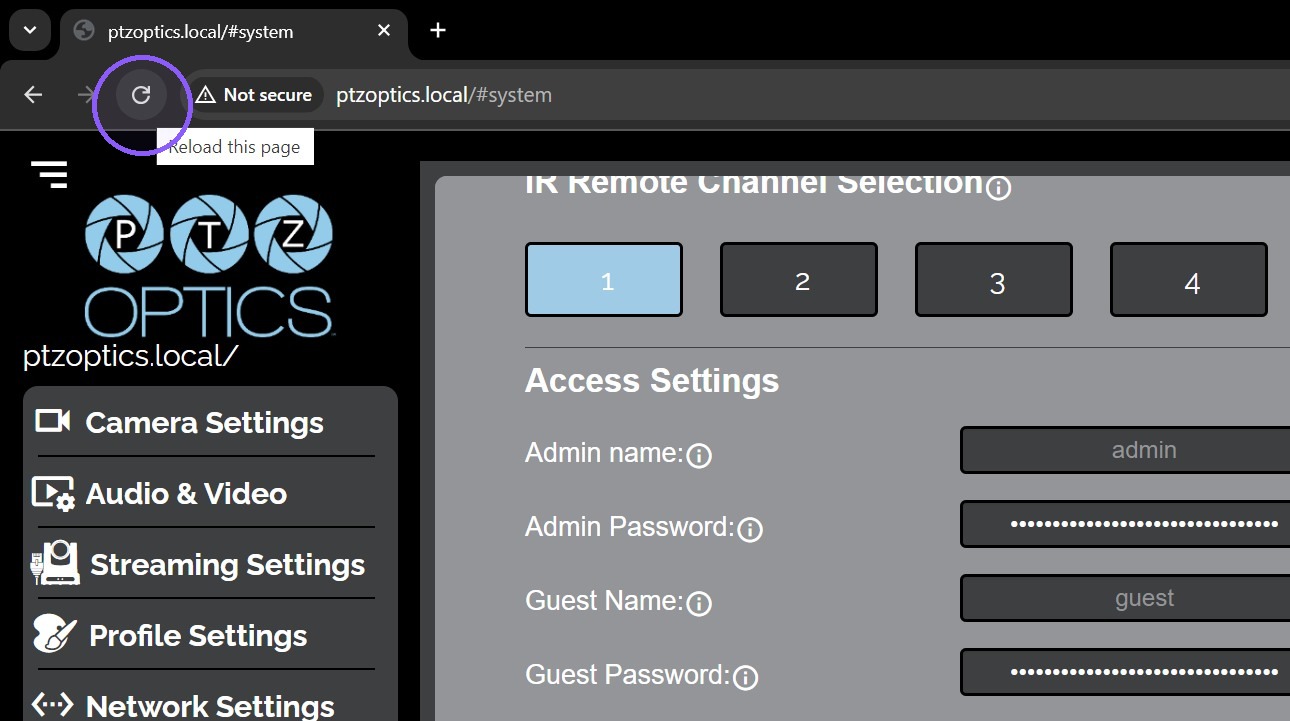
After 3 ~ 6 minutes, the firmware upgrade process will be complete. Reload the web interface to reveal the new features.
-
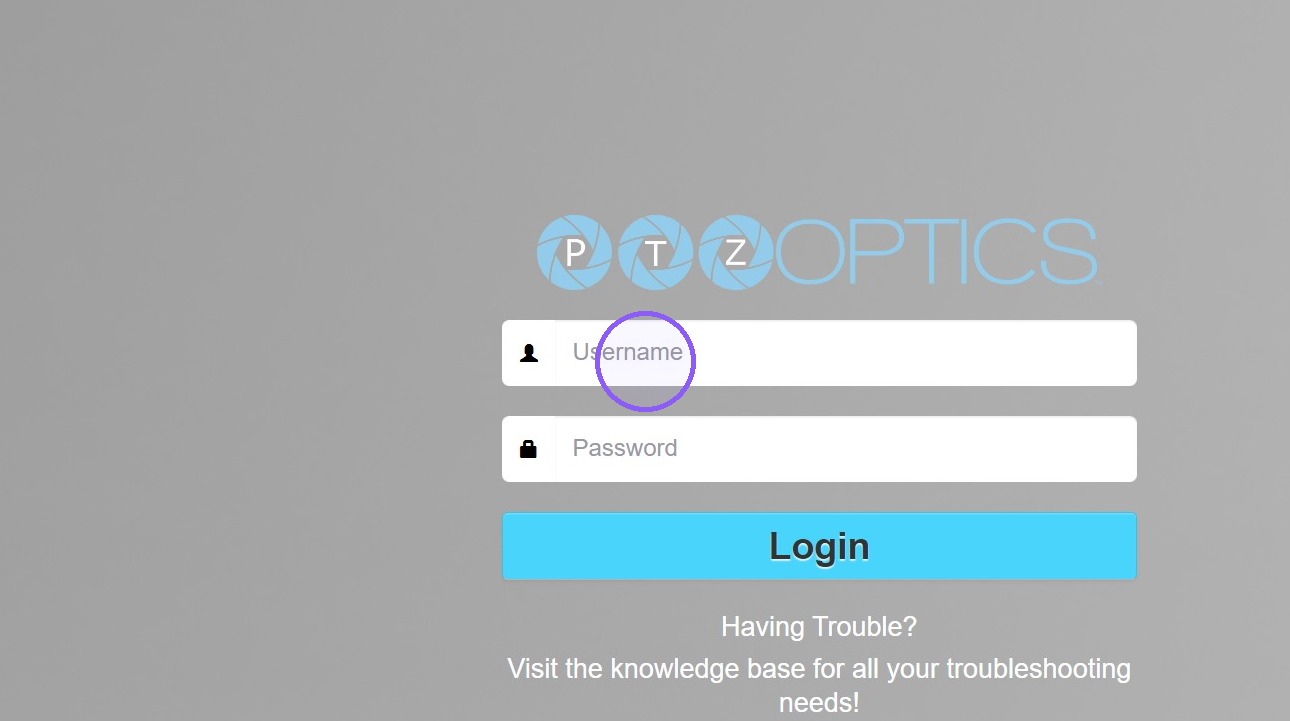
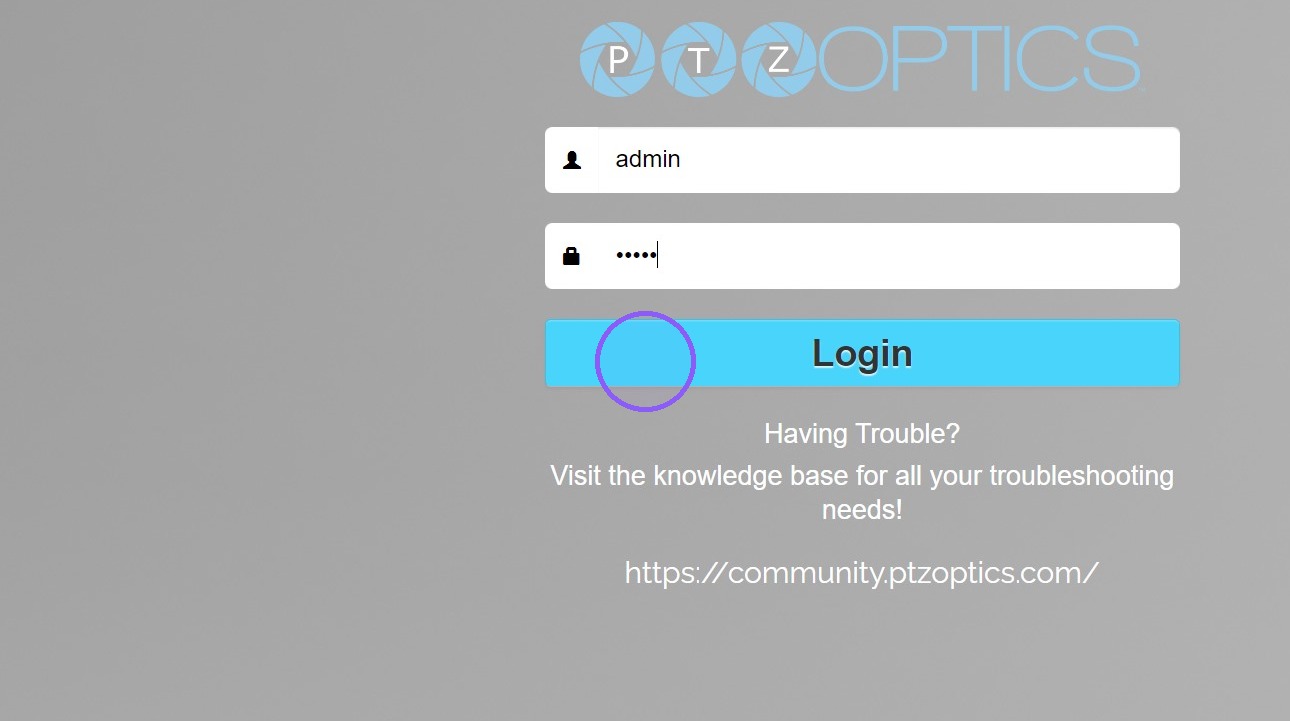
Enter your username.
-
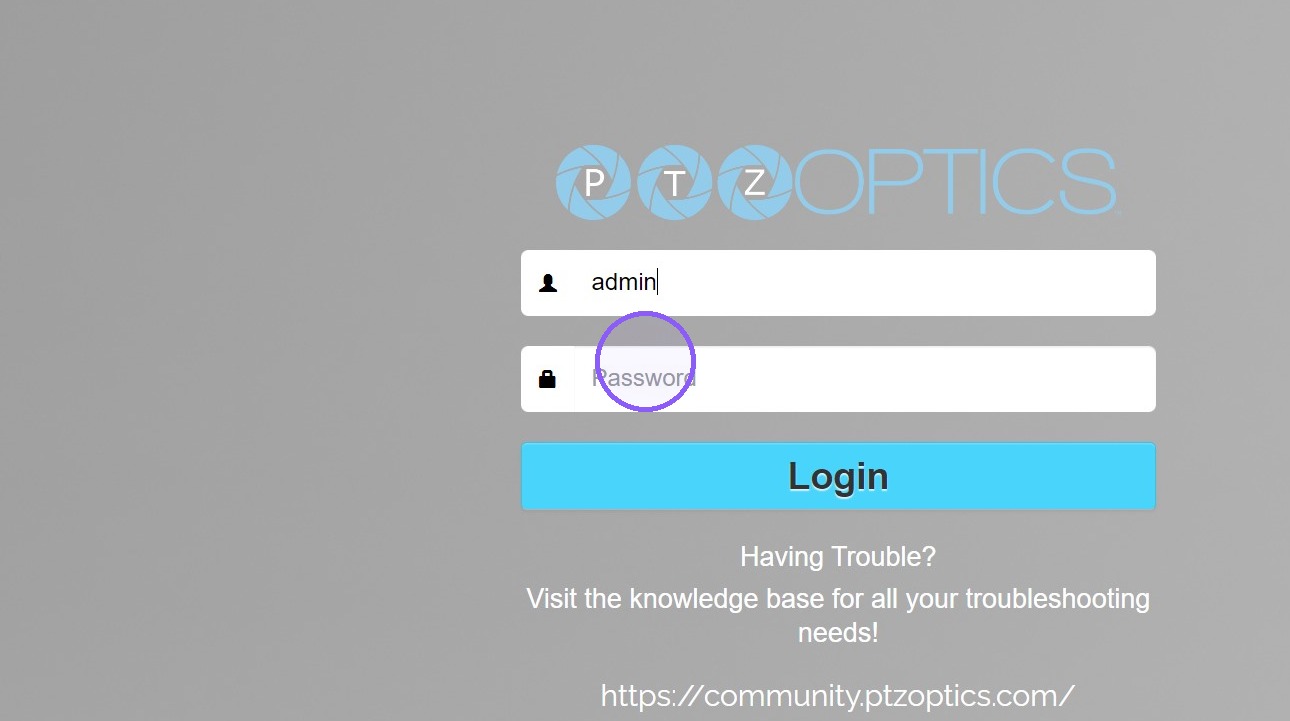
Enter your password.
-
Click the Login button.
-
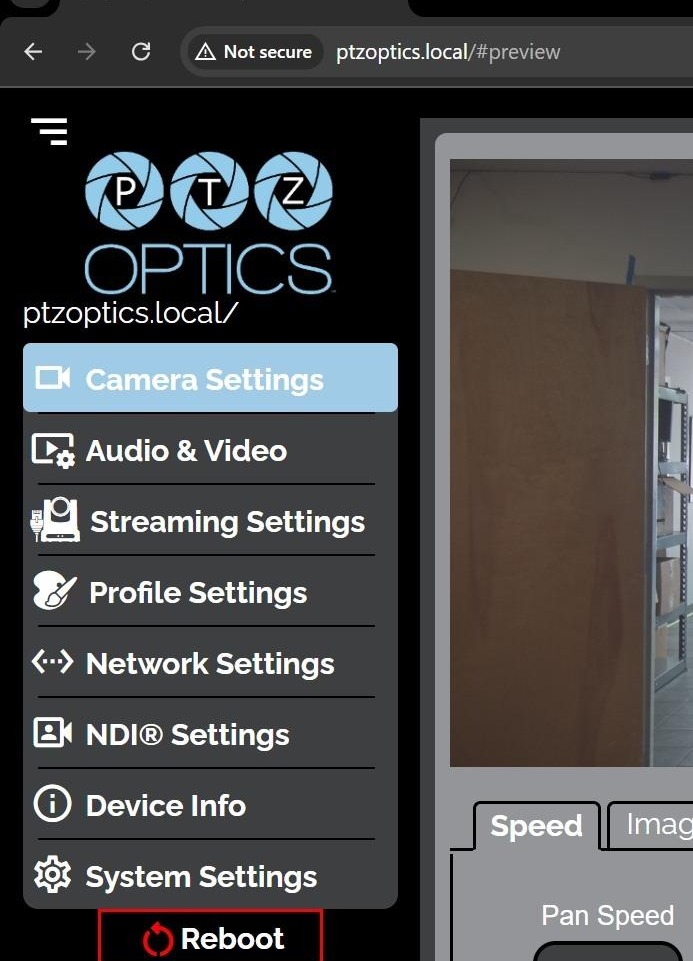
Once logged in, press [[Shift]] + [[Ctrl]] + [[R]] to refresh the Web UI without cookies / cache.
-
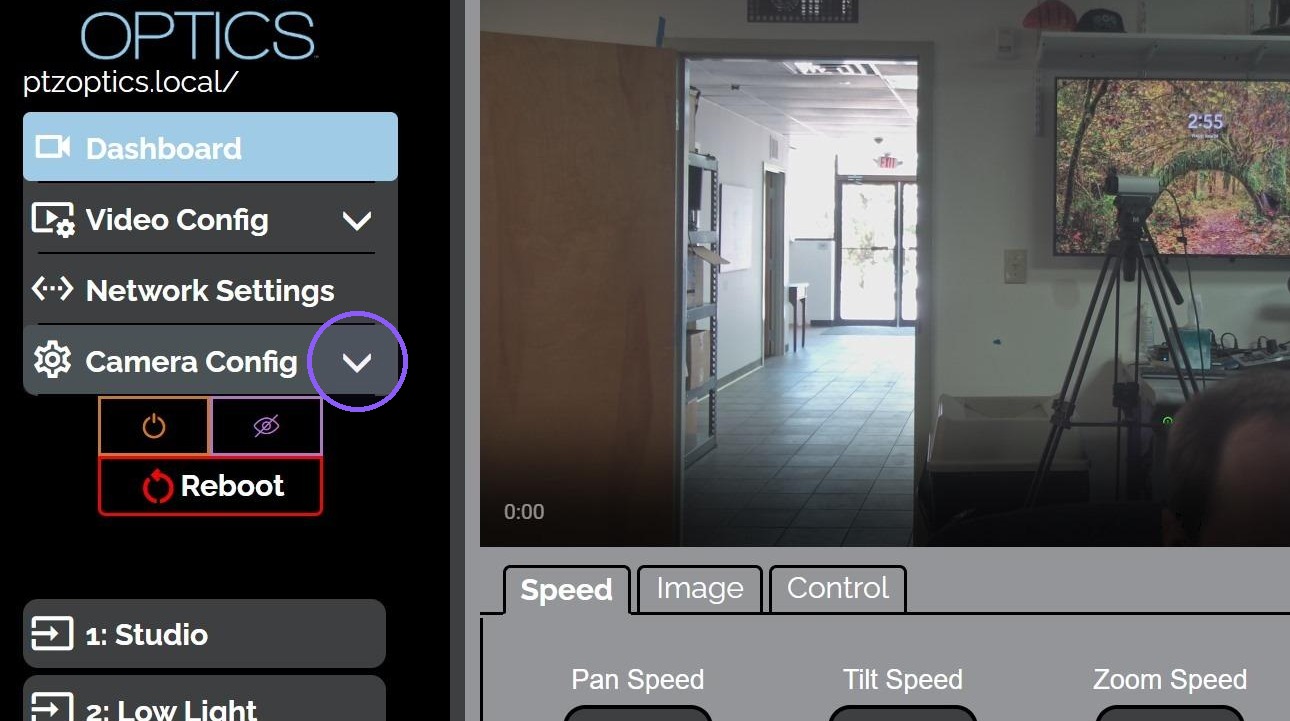
Click Camera Config.
-
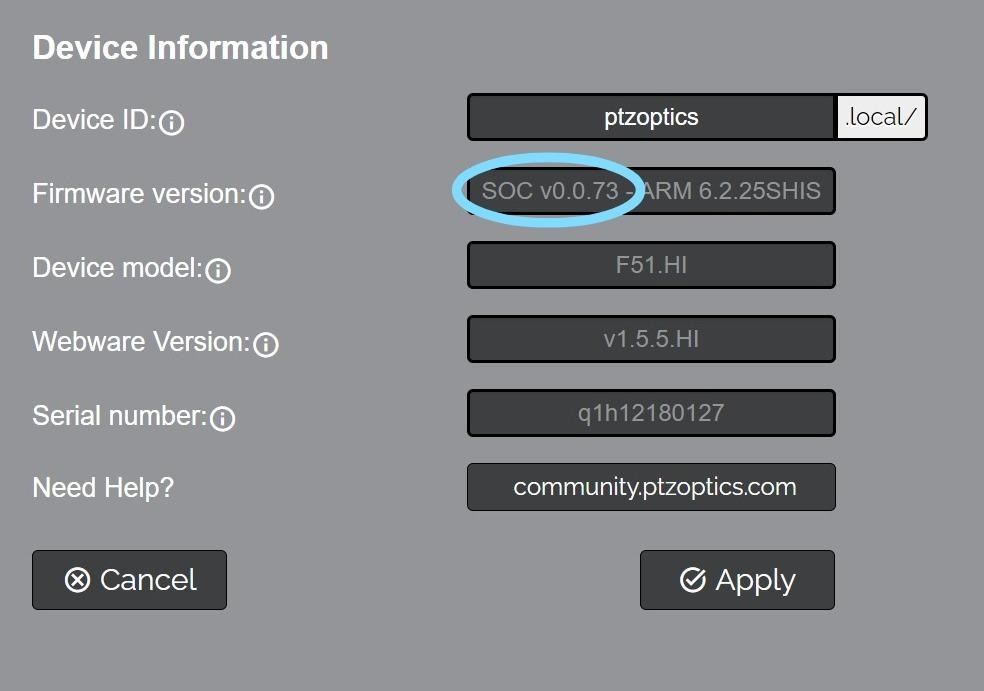
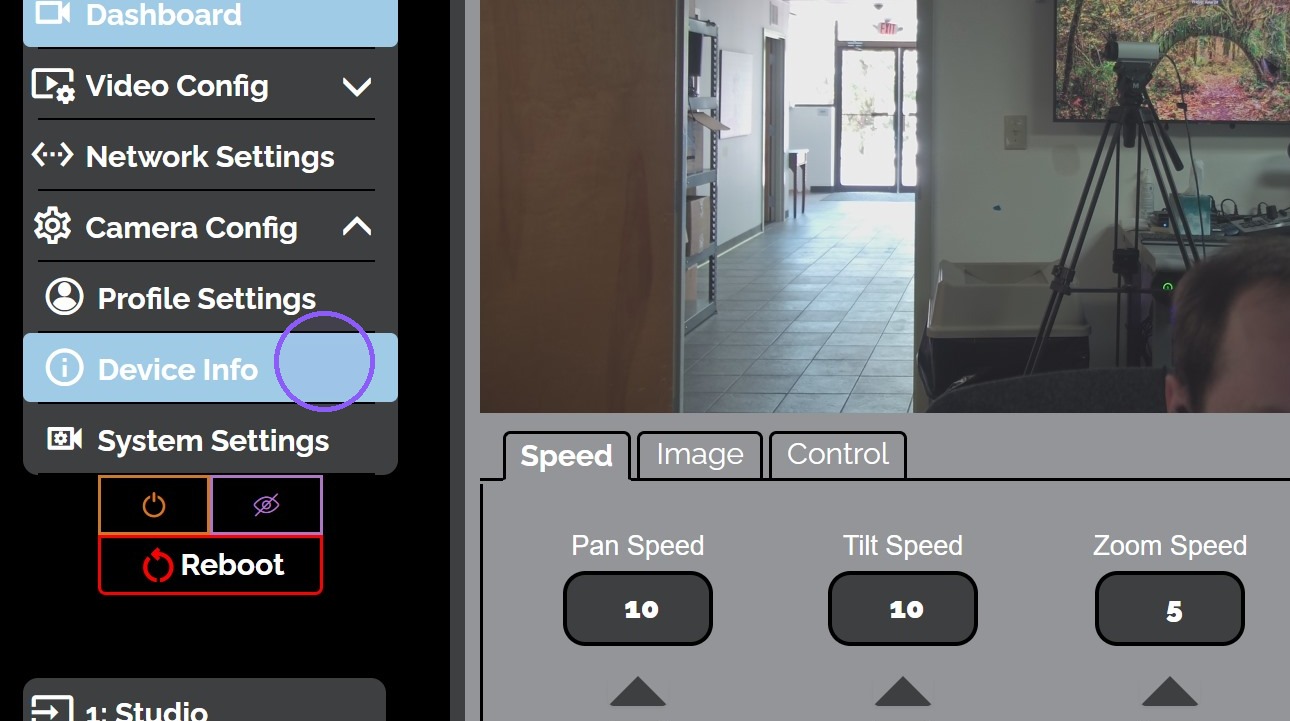
Check the Device Info page to confirm that your camera has received the new firmware.
-
View the Firmware Version field for the new SOC version.