Autotracking Guide
What is Auto Tracking?
All G3 PTZOptics cameras have an auto tracking feature. This feature allows users to turn their camera into its own camera operator. The autotracking on PTZOptics cameras can select a human target and pan, tilt, and zoom to keep that target in frame.
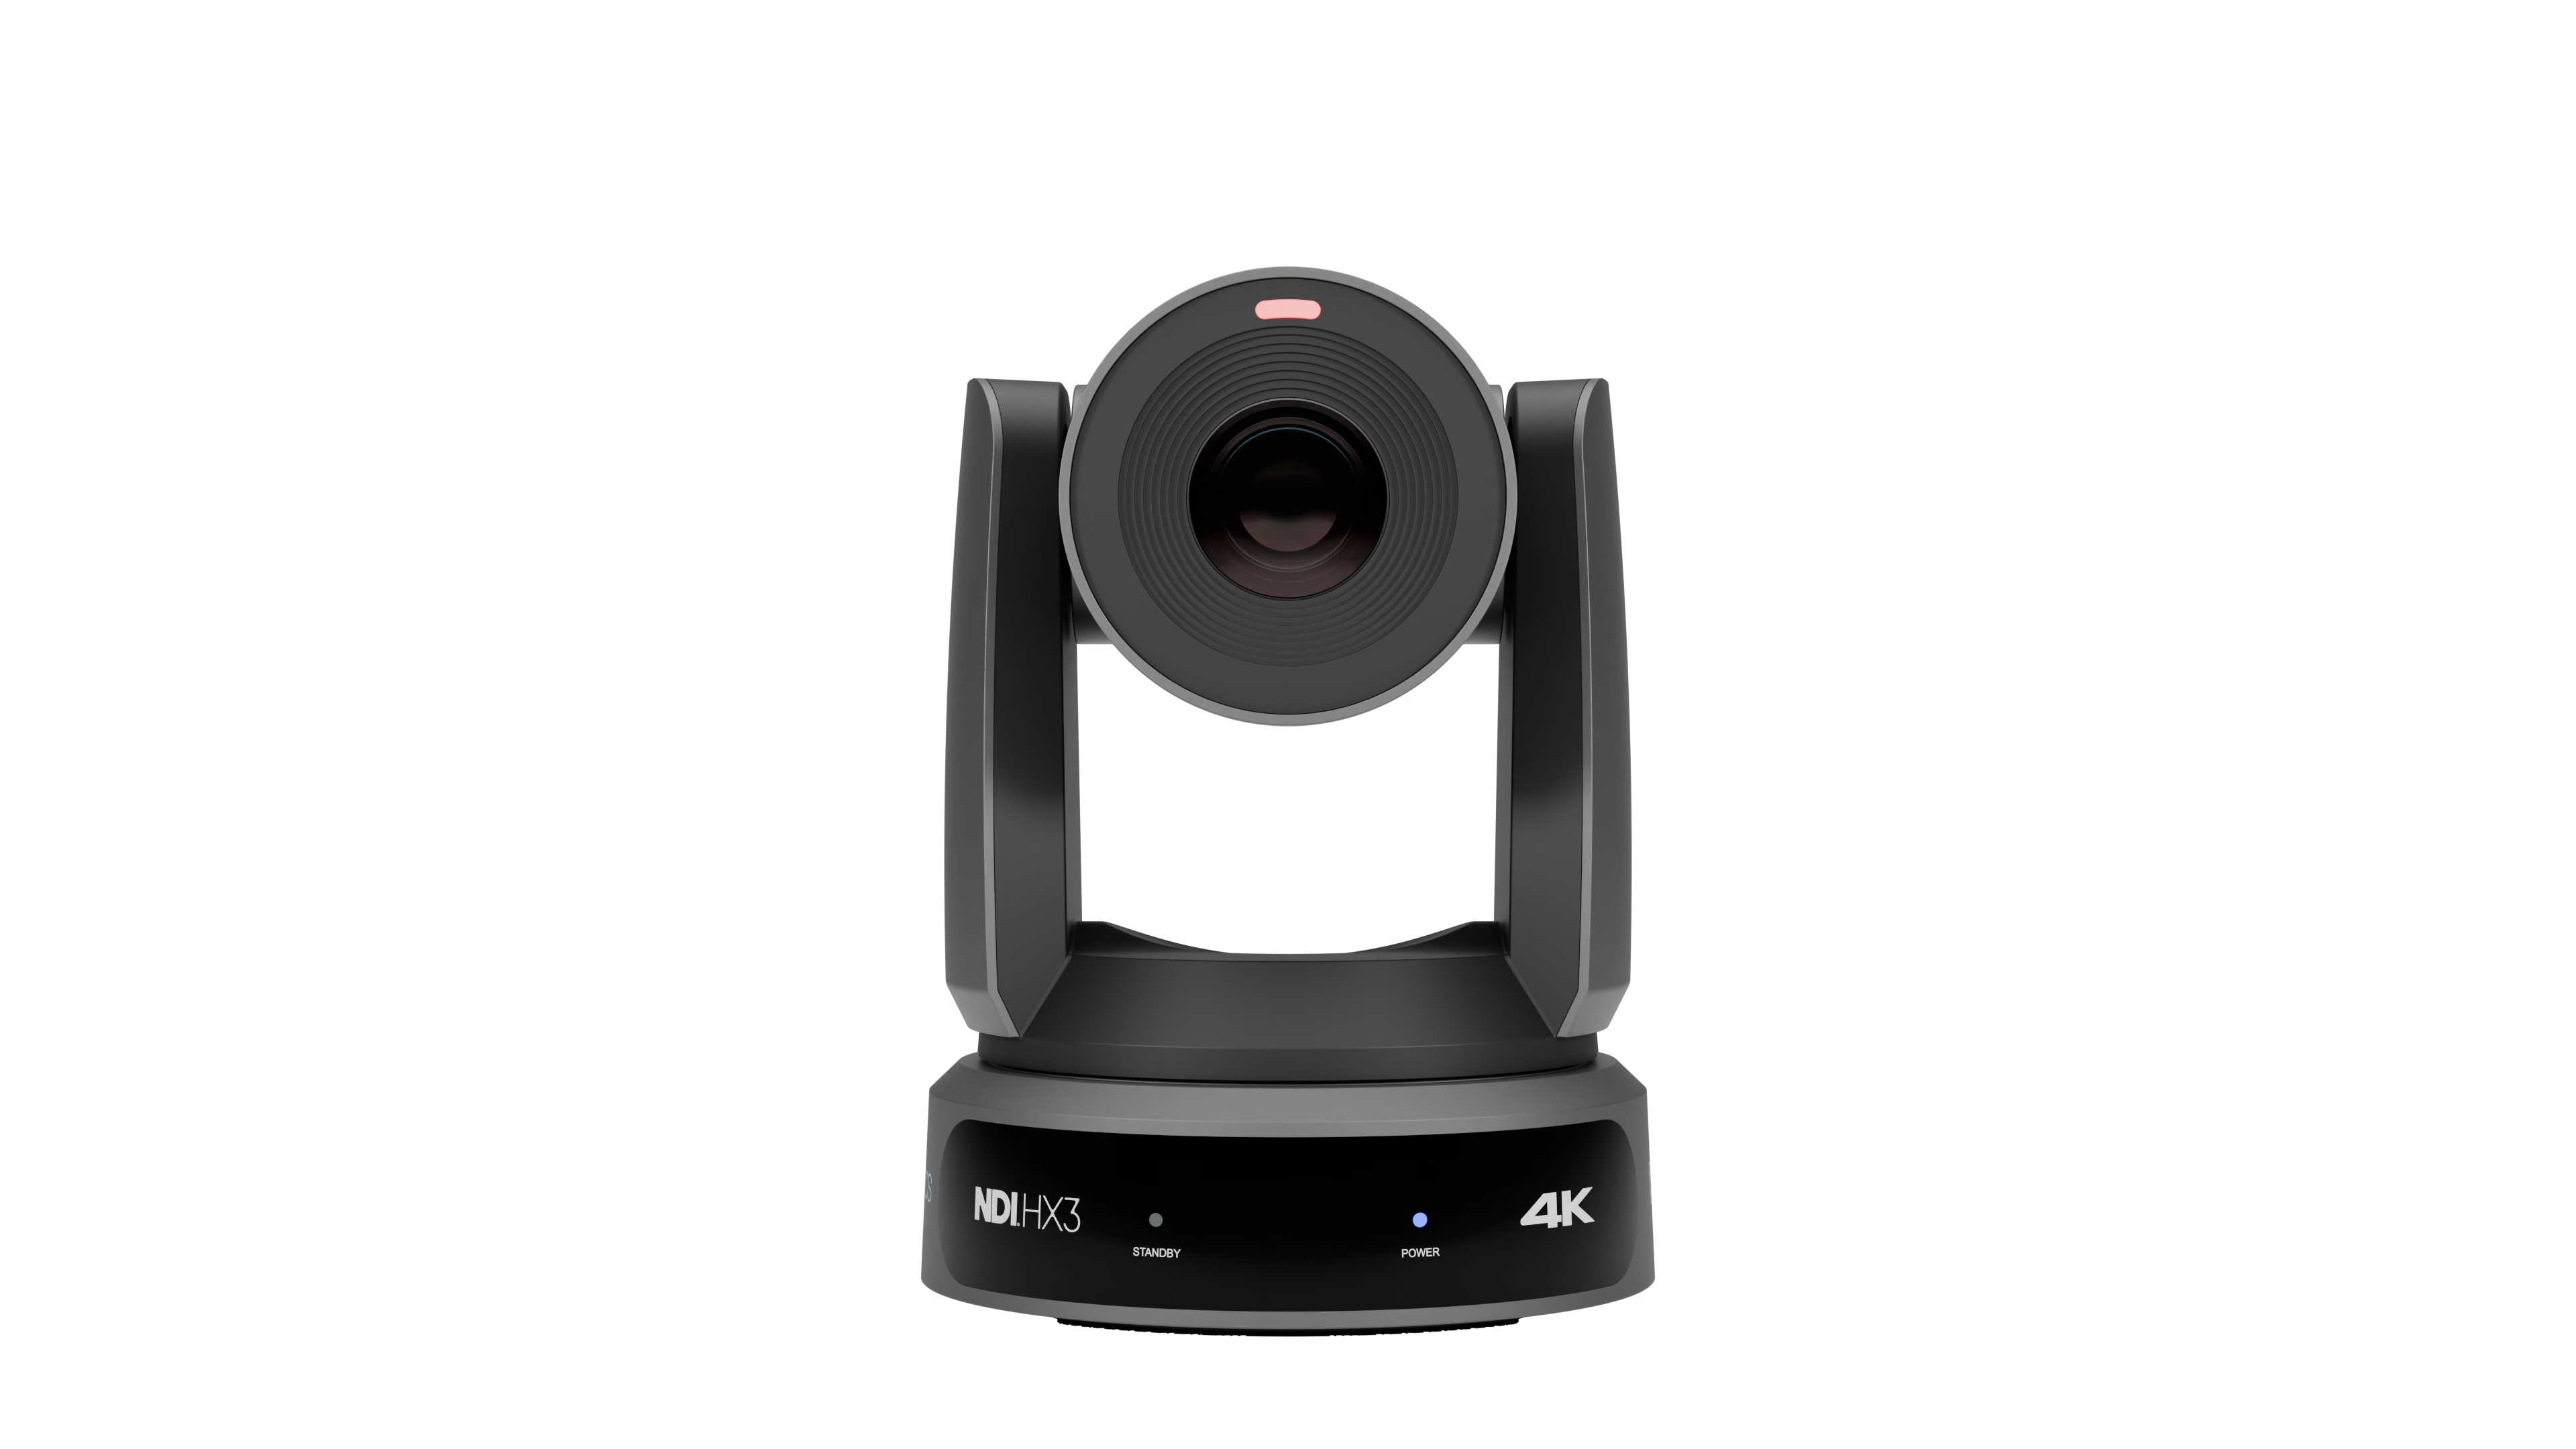
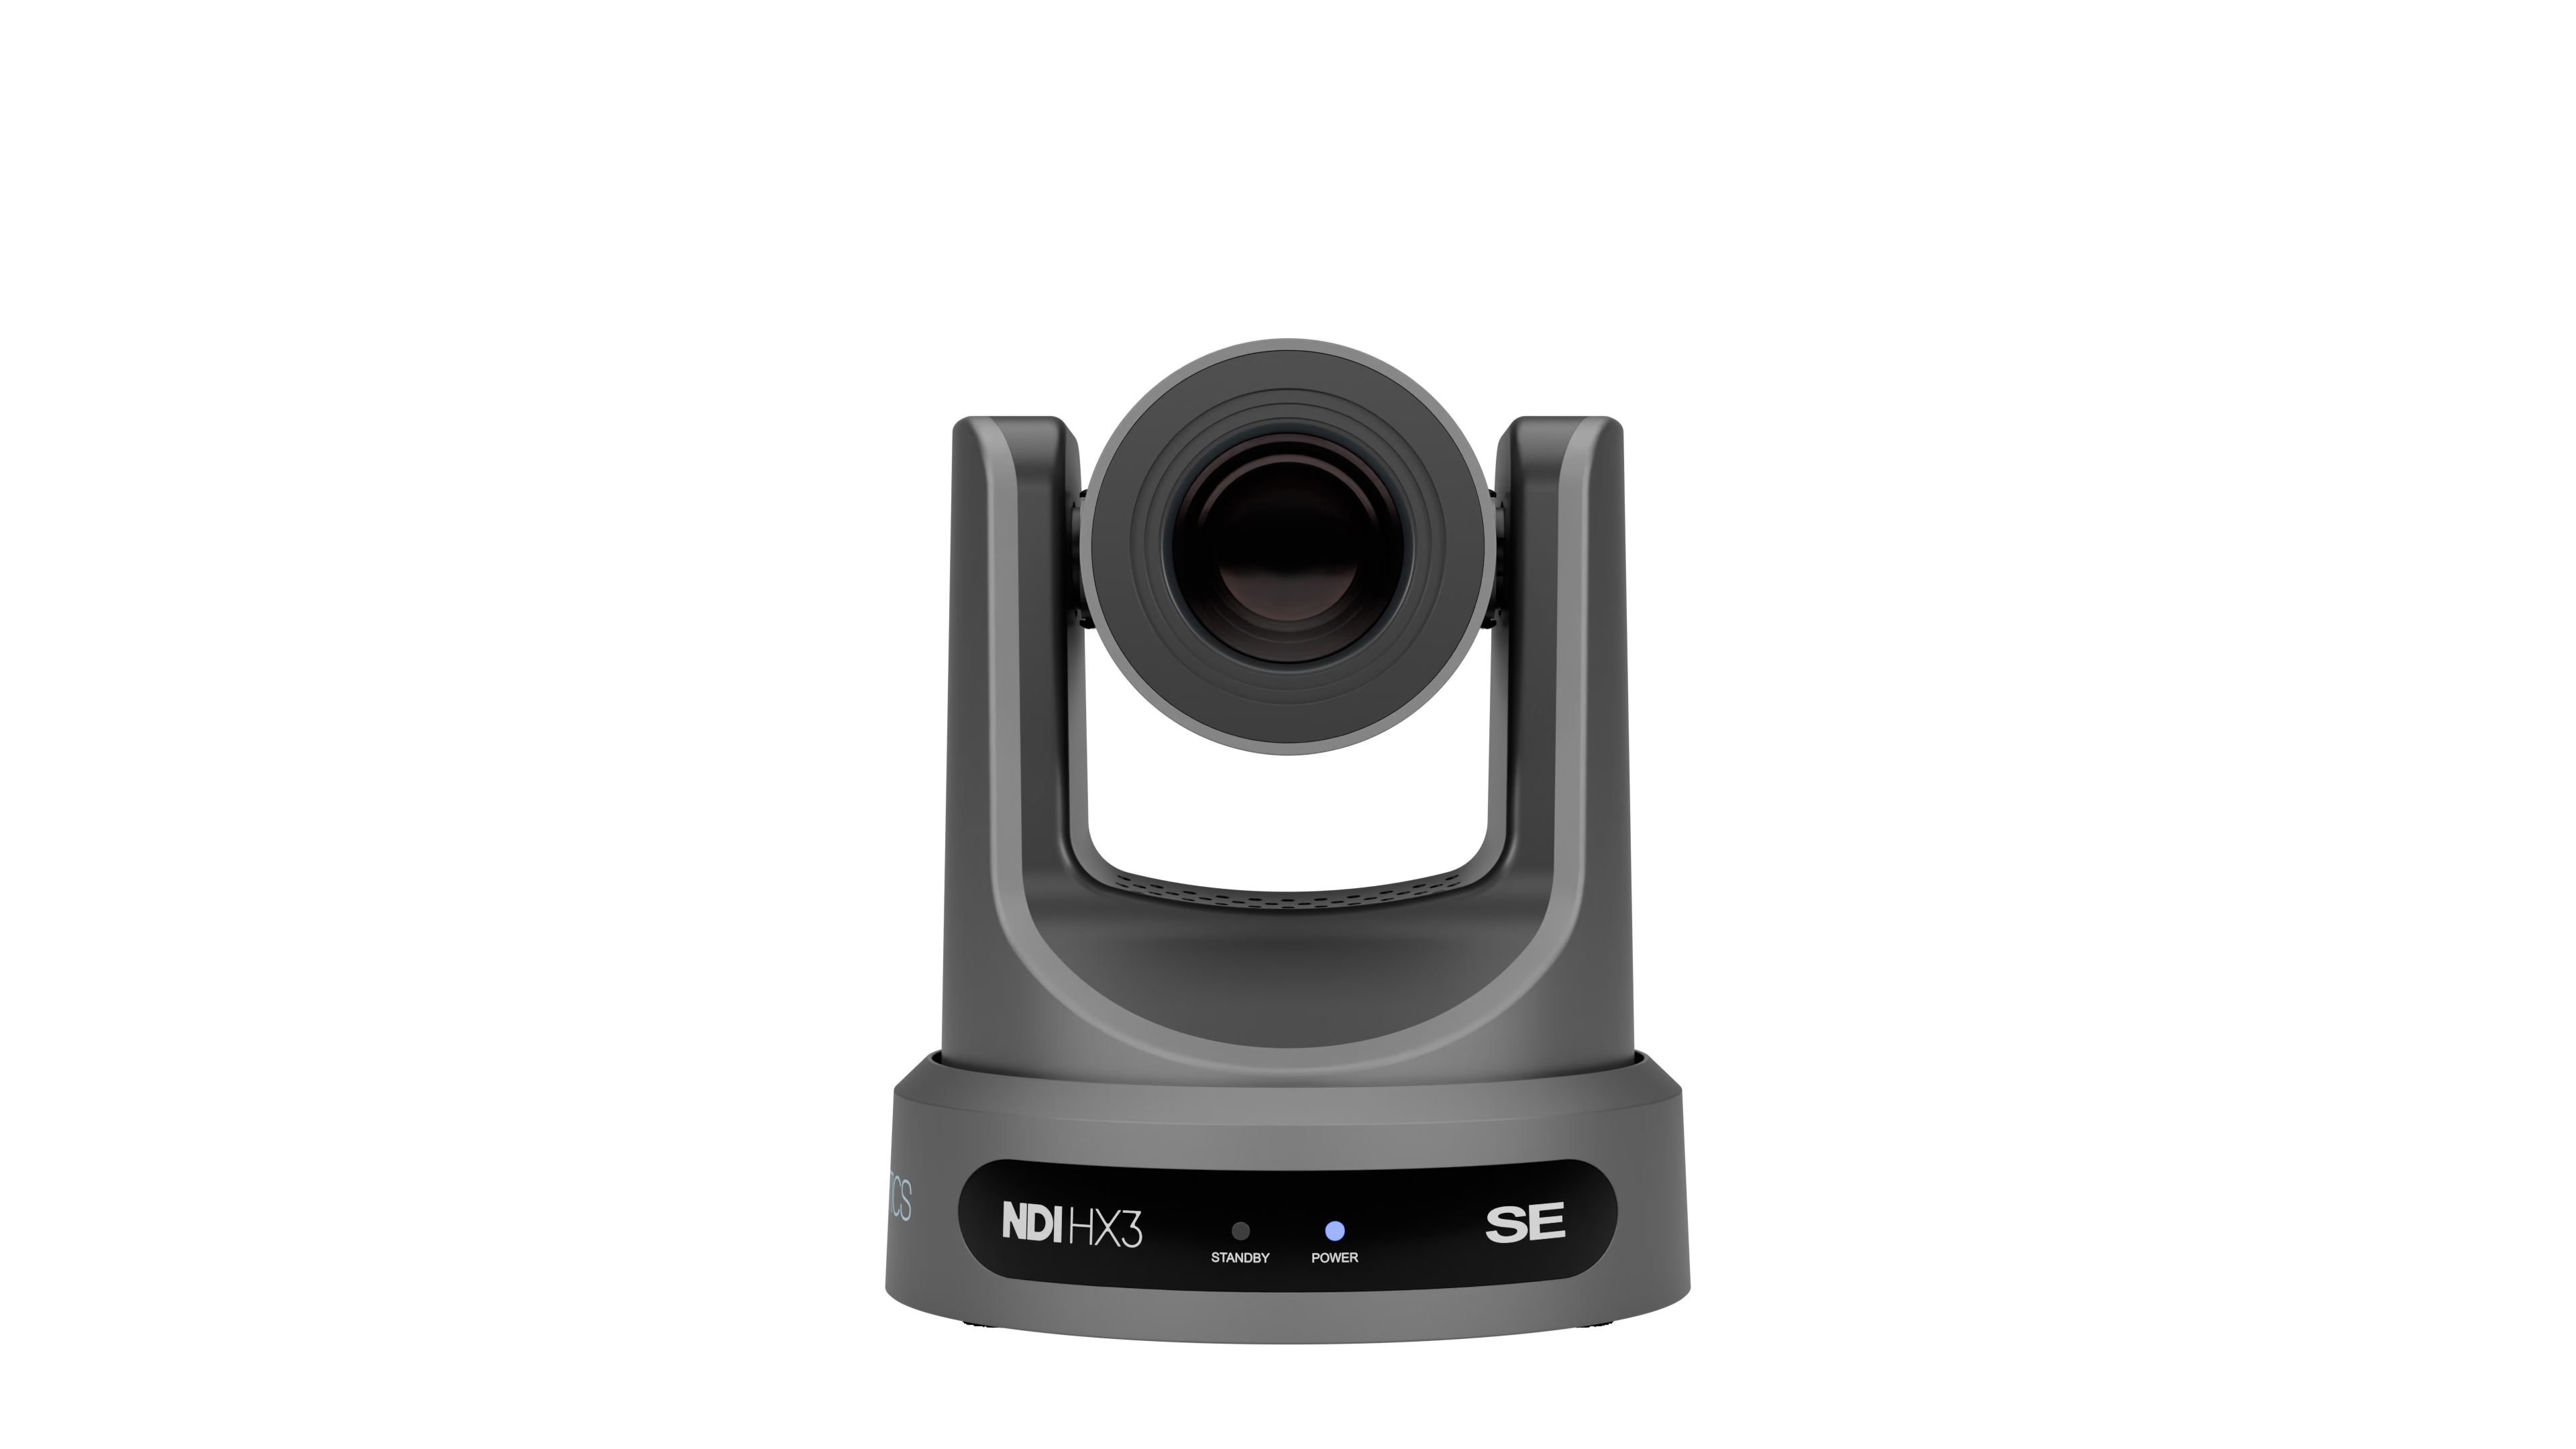
This guide covers autotracking for the PTZOptics Move 4K and Move SE, and for SimplTrack 2, SimplTrack Lite, and HuddleView cameras. Choose your camera model below to open its setup instructions and settings reference. The Target Loss walkthrough applies to both the Move 4K and Move SE.
- Move 4K adds: Presenter Lock Mode™, Horizontal/Vertical Composition, Tracking Sensitivity, Tracking Zoom Level, and Tilt Lock.
- Move SE offers: Auto Tracking, Auto Framing, Time Delay, Start/Stop Tracking Locations, and Target Loss Timeout.
- SimplTrack 2, SimplTrack Lite, and HuddleView: Turn tracking and framing on or off using Tracking Control Software, IR remote shortcuts, or presets.
How to Operate Auto Tracking
Choose your camera model for its visible setup methods and model-specific settings:
Autotracking Settings Reference
The settings reference is specific to each camera model. Open the matching guide above for its controls and available settings. SimplTrack 2, SimplTrack Lite, and HuddleView use software, IR remote, or preset controls rather than the Move 4K and Move SE settings reference.
Configuring Target Loss
If you've configured Pan/Tilt Limits on your camera (see the Pan/Tilt Limits Guide), they also constrain Target Loss recovery — the camera will never move outside your configured limits when it repositions to a Target Loss Preset, even if the preset itself would otherwise move the camera further.
What is Target Loss?
Target Loss is a feature used with auto-tracking and auto-framing that determines how the camera behaves when it can no longer detect the tracked subject.
Depending on your production, you may want the camera to remain where the subject was last seen and wait for them to return. In other situations, you may want the camera to automatically return to a designated location, such as a podium, stage, or head of a table, where it is more likely to find the original subject or acquire a new one.
Target Loss Settings
There are two settings associated with Target Loss: Target Timeout and Target Loss Preset. These settings can be modified live to change how the camera behaves when a subject is lost.
- Target Timeout: Defines how long, in seconds, the camera waits after losing sight of the tracked subject before performing the configured Target Loss action.
- Target Loss Preset: Defines where the camera moves after the tracked subject has been lost for the duration of the Target Timeout.
The ideal settings depend on your scene and how your subject is expected to move. Sometimes it is best for the camera to move to a specific location where it can acquire the original subject or a new subject. Other times, it is best for the camera to remain in its current position and wait for a subject to return.
Wait for a Subject to Return to the Last Location Seen
Use this configuration when you want the camera to remain where it last saw the subject rather than return to a predetermined location.
- Target Timeout is not necessary for this setup.
- Set Target Loss Preset to Track Now. This tells the camera to remain at its current location and wait for a subject to acquire.
With this configuration, the subject is free to move throughout the scene. If the camera loses the subject, it will remain at its current location until the original subject returns or a new subject is detected.
Return to a Subject Acquisition Location
Use this configuration when you know where the camera is likely to find a subject, such as center stage, behind a podium, or at the head of a table.
- Create a Preset pointing toward the location you expect a subject. This is often center stage, behind a podium, or at the head of a table.
- Make sure the camera is zoomed out enough to clearly capture the subject's face and body.
- Use the Tracking Start Location dropdown to select the Preset you created in Step 1.
- Set Target Timeout to 3–6 seconds. Depending on your scene, you may need to increase this value to give the subject enough time to leave and re-enter the camera's view.
- Use the Target Loss Preset dropdown to select the same Preset you created in Step 1.
With this configuration, the camera begins at the designated acquisition location and tracks the subject as they move throughout the scene. If the subject is lost for longer than the configured Target Timeout, the camera returns to the acquisition location and waits to acquire the original subject or a new one.