Getting Started
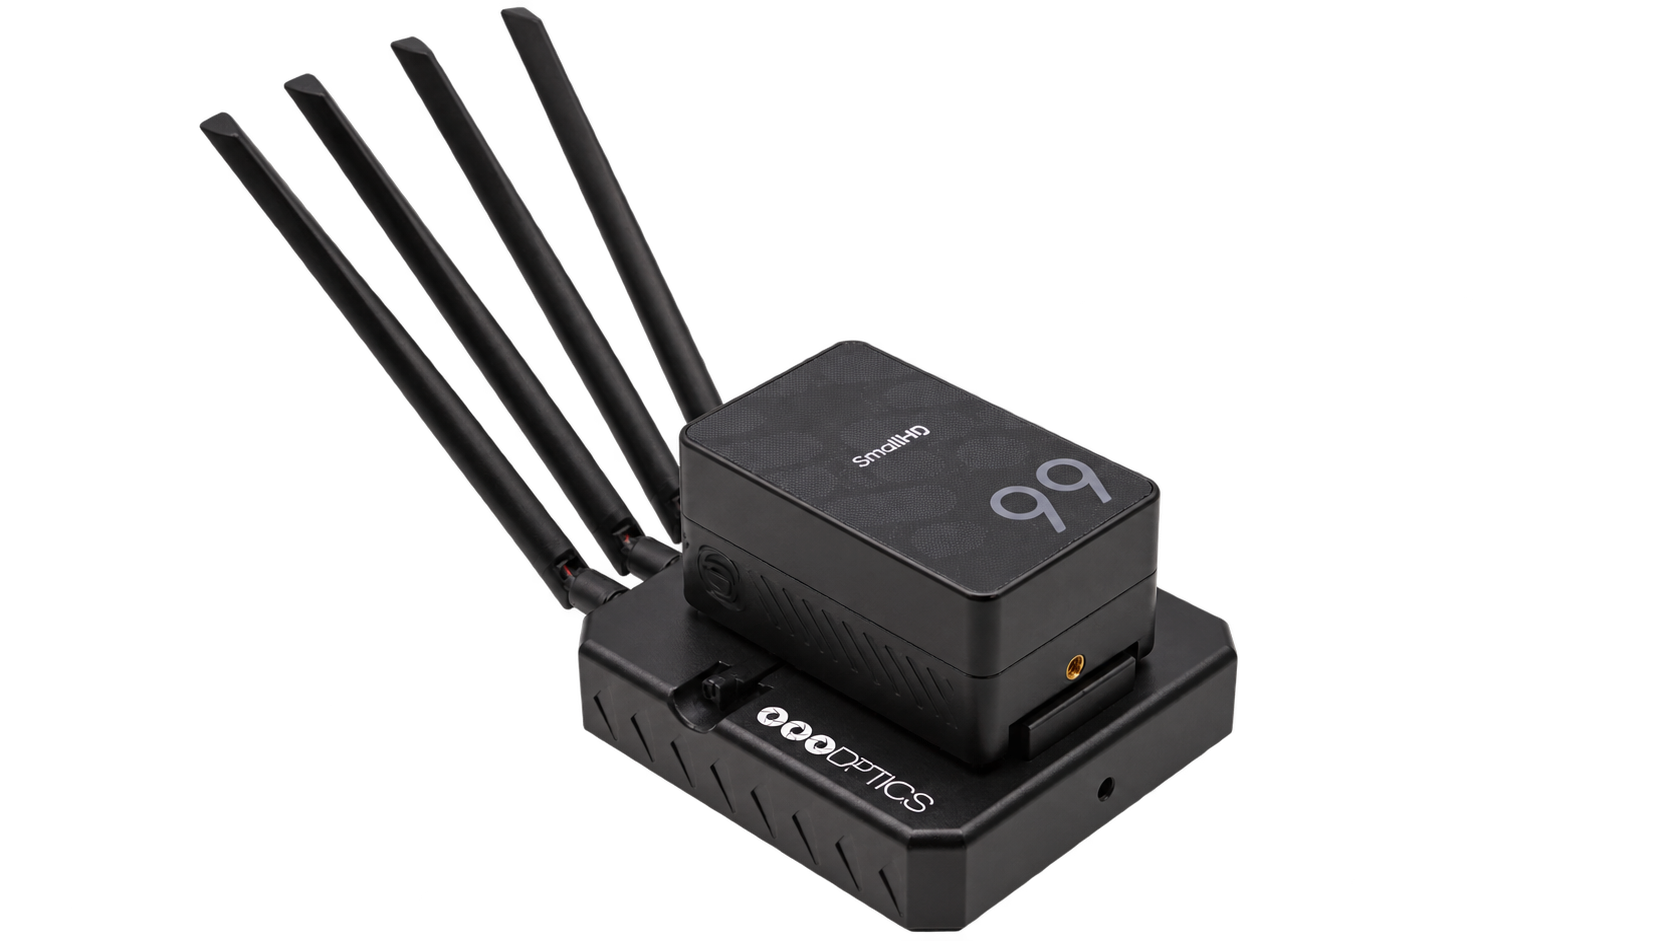
The Power Link is a wireless network bridge that provides network connectivity and PoE Plus power to IP cameras and other production equipment. It eliminates the need for long Ethernet cable runs and supports V-mount batteries for mobile productions, sports, and locations where traditional cabling is impractical.
Hardware Setup
STEP 1
Attach the four antennas to the connectors. Keep the antennas parallel and orient their sides toward the wireless access point for optimal performance.
STEP 2
- Power the Power Link using the included 24V DC supply or a compatible V-mount battery.
- Connect an Ethernet cable from the Power Link PoE Plus port to your network switch or computer, then turn on the unit.
Web UI Configuration
Because the Power Link uses a static IP address 192.168.100.90 and does not support DHCP, manually configure your computer's network settings to the same subnet before accessing the web UI.
Configure your computer with the following network settings:
IP Address: Any unused address from 192.168.100.2 through 192.168.100.254, except 192.168.100.90, which is reserved for the Power Link.
Subnet Mask: 255.255.255.0
For example, you can set your computer's IP address to 192.168.100.100.
The subnet mask tells your computer which IP addresses are part of the same local network. Using 255.255.255.0 means devices with addresses beginning with 192.168.100 (The first three octets match) are treated as being on the same subnet, allowing your computer to communicate directly with the Power Link.
STEP 3
Enter 192.168.100.90 in a web browser and log in with your administrator credentials.
You will be prompted to set up a password on your first login.
- Default Username: admin
- Create a strong password.
You can use the System section to upgrade firmware, reboot the unit, perform a factory reset, or manage access credentials.
STEP 4
In the top left-hand corner of the Power Link web UI, the Status indicator will display No Connection at this stage, showing a red icon. This is normal and will change to Connected with a green icon once the link is established.
- Select Connect to Router to scan for available Wi-Fi networks. This will take about 30 seconds. Select your network and enter the password to connect.
- The Power Link will reboot and attempt to establish a connection with the router. This may take up to 60 seconds.
- After the device reboots and reconnects, log in to the web UI again. The upper left-hand status indicator will display Connected with a green icon.
- Select Enable Link to establish the network connection.
STEP 5
- A confirmation message will appear. Select YES to proceed. The Power Link will reboot and attempt to establish a connection with the router. This may take up to 30 seconds.
- Wait for the link to establish and the unit to reboot.
- You can now safely revert your computer's IP settings to DHCP.
Device Deployment
STEP 6
If the Power Link is connected directly to your computer, disconnect that Ethernet cable and connect it to the camera. If it is connected to a network switch, leave that connection in place and connect the camera to the PoE+ port with another Ethernet cable, allowing approximately 60 seconds for PoE negotiation.
STEP 7
Access the camera's web UI using its IP address to confirm successful power and network connectivity. You can now deploy the camera to your desired location.