Getting Started with the Web UI
The MiniJoy Web UI provides browser-based camera management, knob configuration, and controller settings.
- The MiniJoy IP address
- A MiniJoy account
- A computer that can reach the controller over the network
The controller IP address appears in the MiniJoy on-screen display under Network. For initial network setup, see Connect via Network.
Sign In
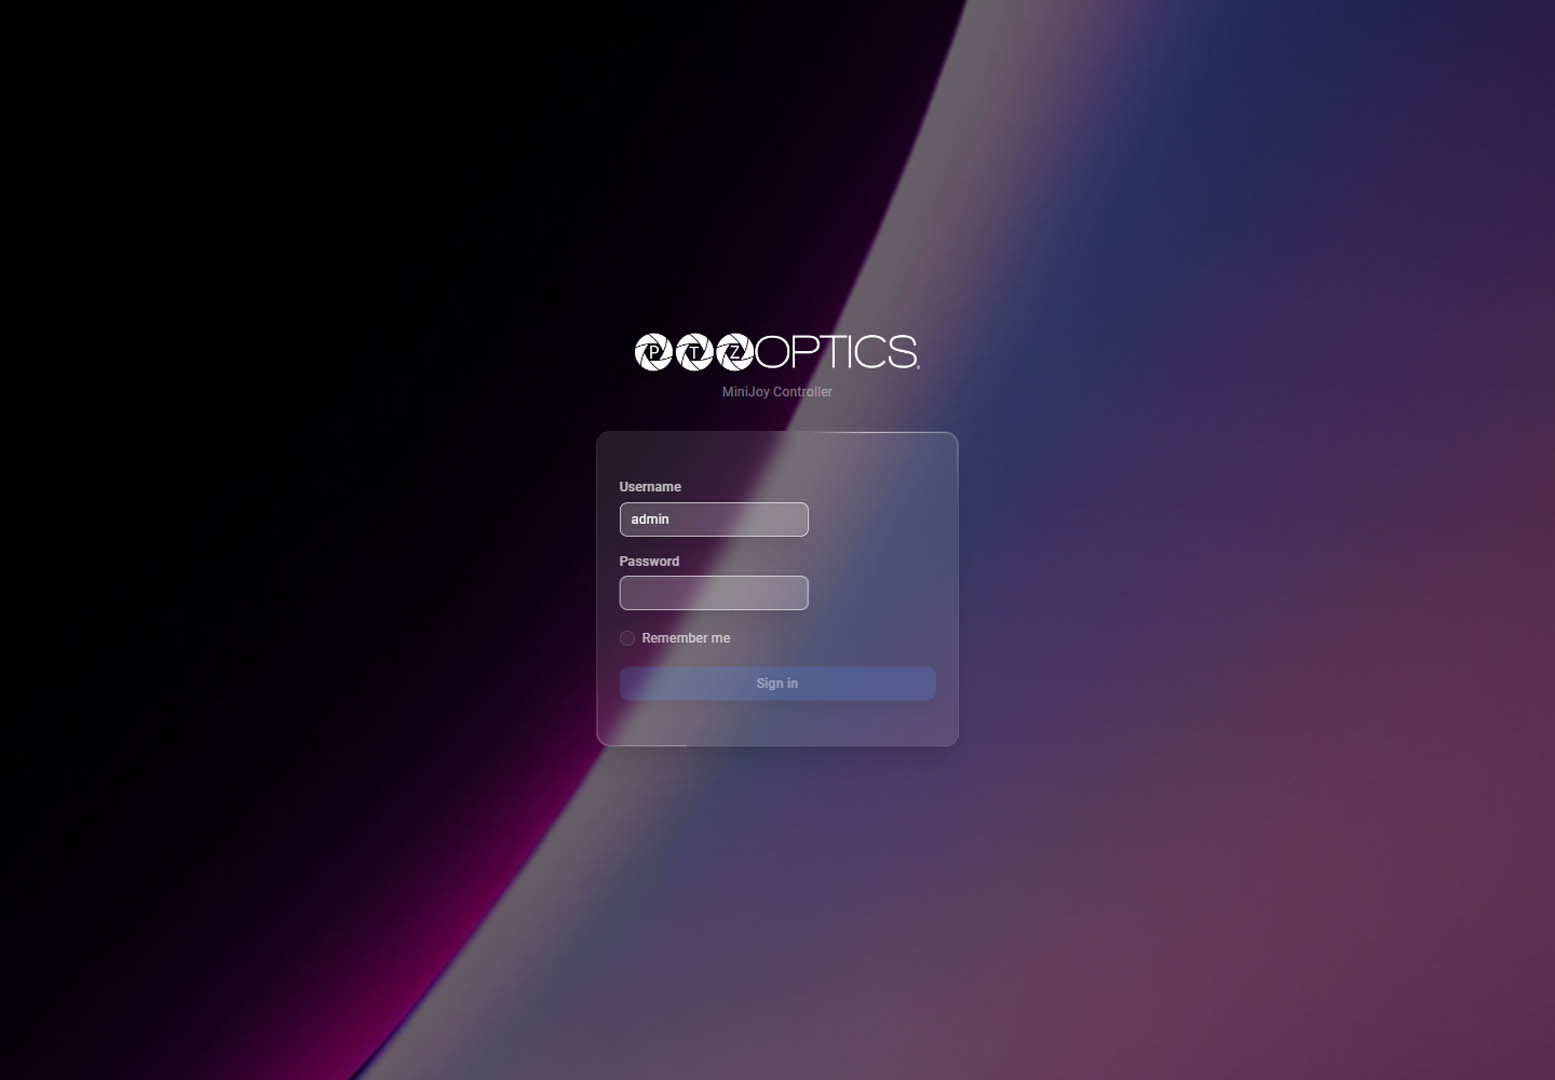
1. Open a web browser and enter your MiniJoy's IP address.
2. Enter your username and password.
3. Select Sign in. You will be taken to the MiniJoy Web UI dashboard on the Devices page.
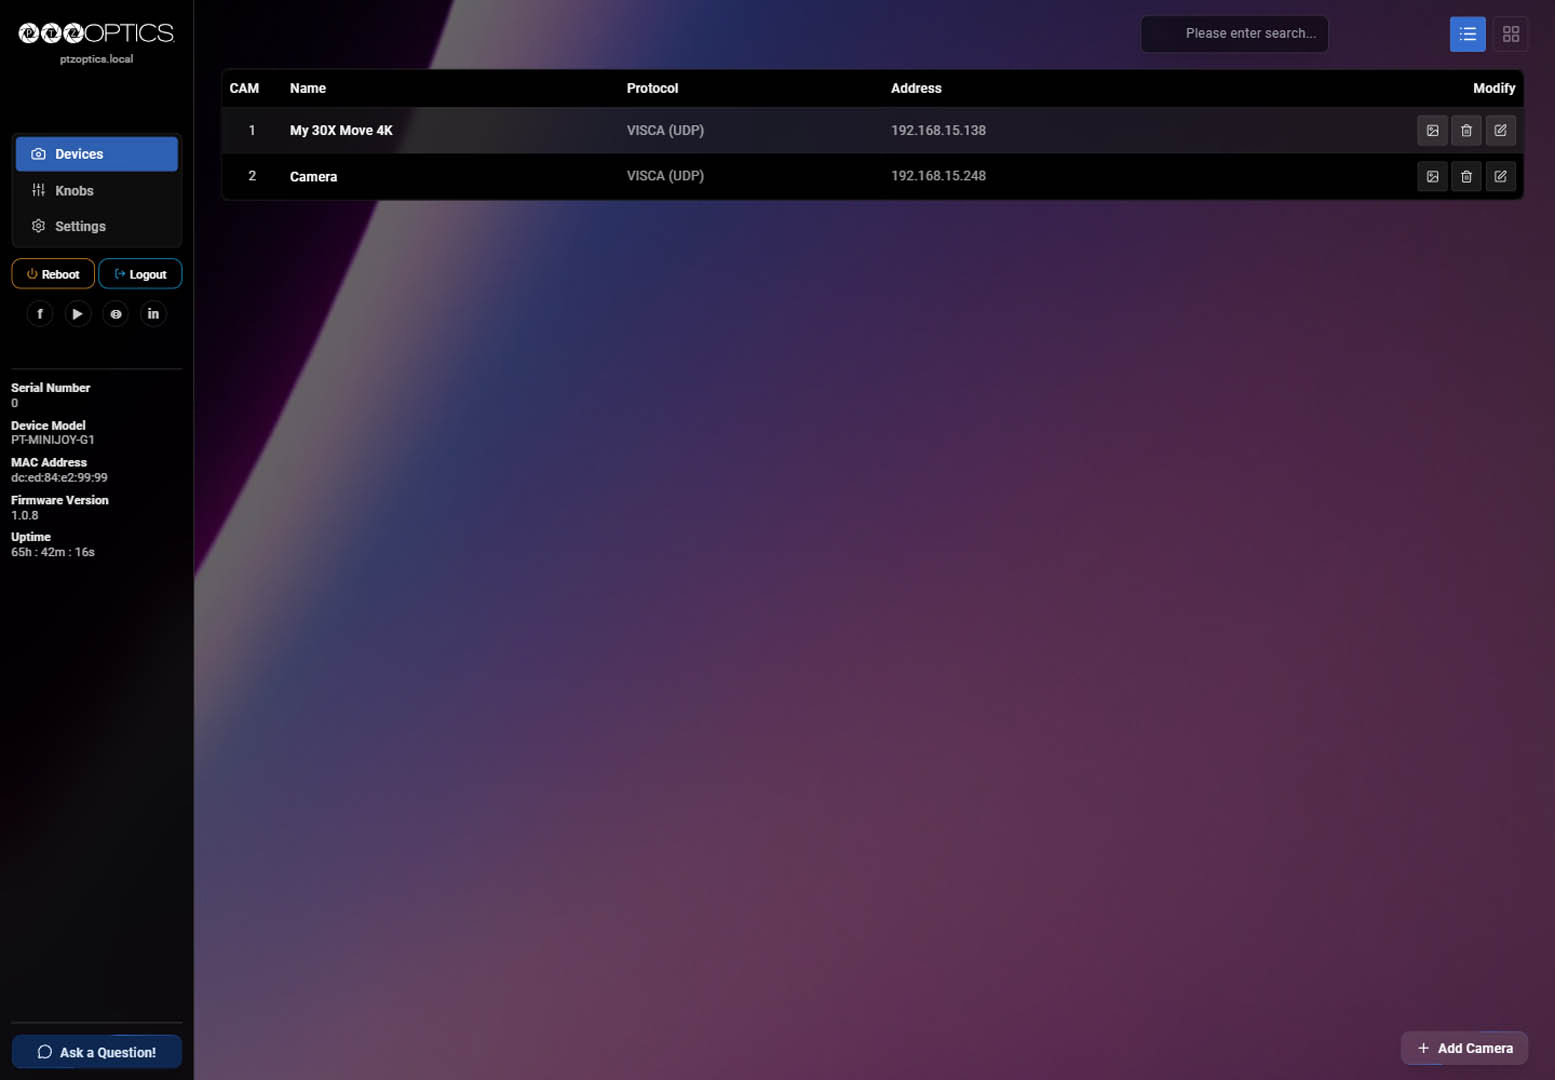
Devices Page
The Devices page provides a table that shows each configured camera's number, name, (referred to as friendly name when modifying settings), control protocol, IP address, and modification controls.
In the Modify column, each camera has controls to request a snapshot, edit device settings, or remove the camera.
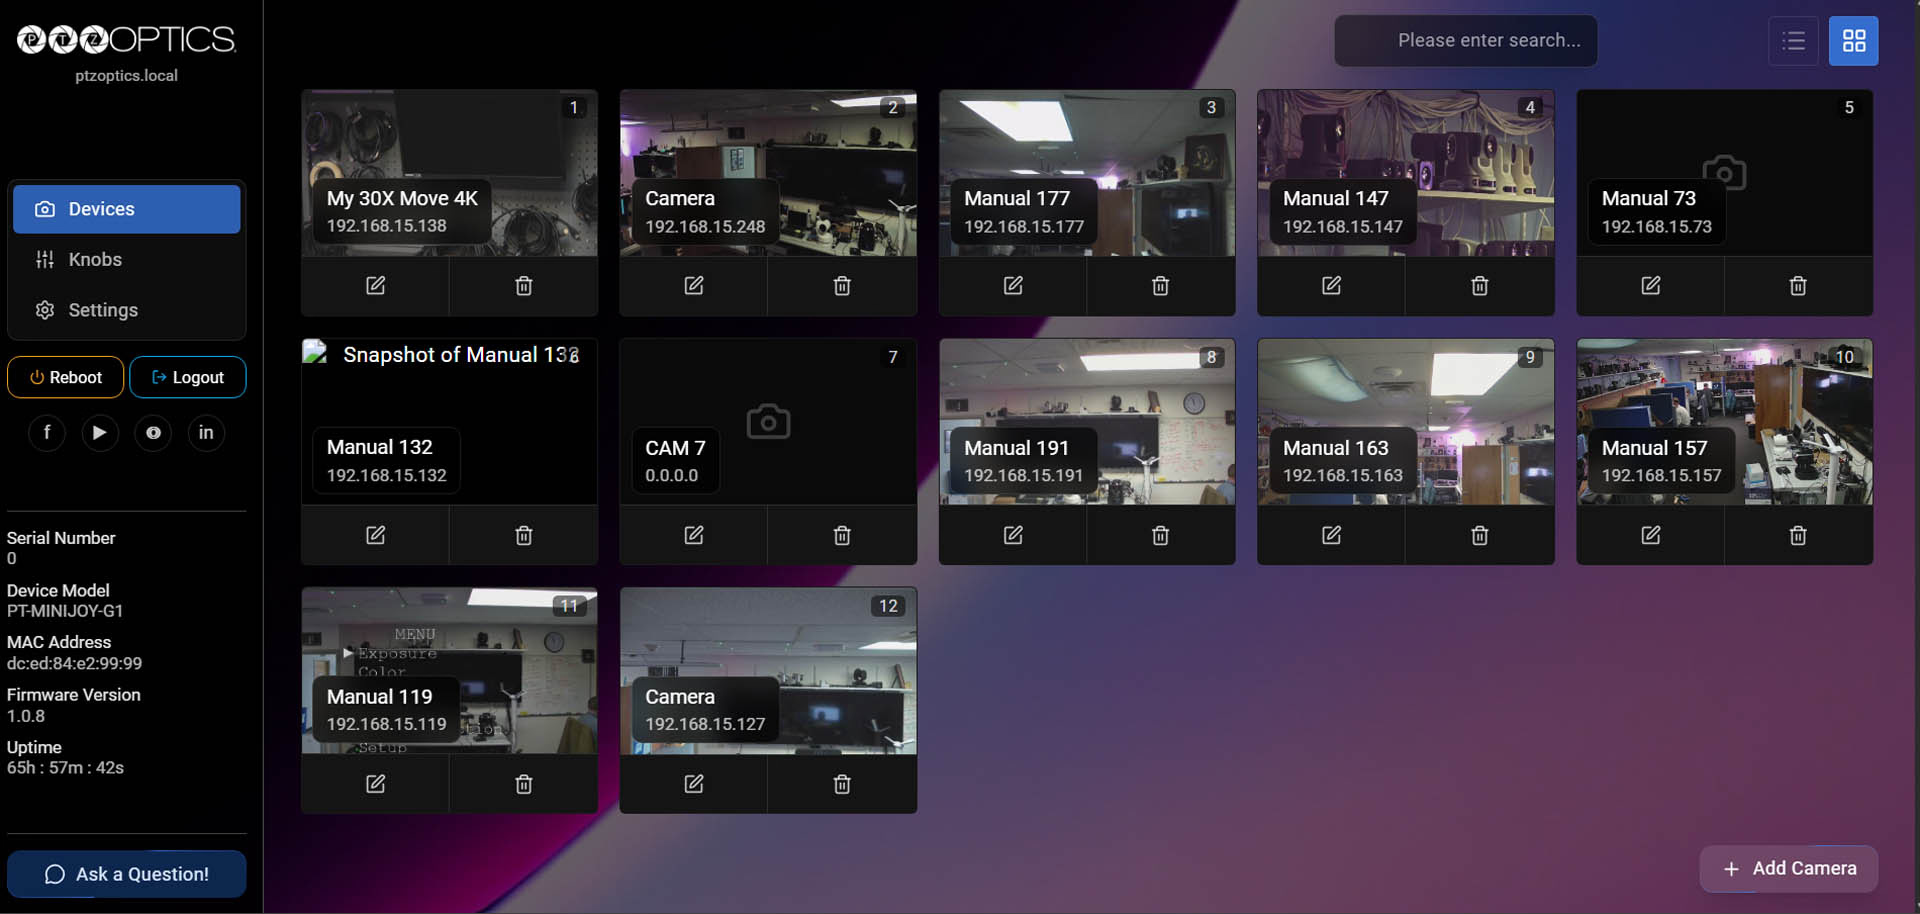
In the top-right corner of the Devices page, a search bar filters the camera list. A set of view controls switches between a list and a grid layout.
The Devices page is set to the list view by default.
The grid layout displays the most recently retrieved still snapshot for each camera.
The browser interface displays still snapshots. It does not provide continuous video or on-screen PTZ controls.
Main Navigation
| Item | Purpose |
|---|---|
| Devices | Discover, add, inspect, edit, or remove camera entries |
| Knobs | Assign functions to four programmable knobs across six pages |
| Settings | Configure Network, NDI, Firmware, System, and Help options |
| Logout | End the current Web UI session |
| Reboot | Restart the controller |
The sidebar also displays controller identity and status information. See Controller Settings for the complete list.
Reboot interrupts controller operation. Use it only during an appropriate maintenance window.