Wall Mount Installation Guide
This guide covers mounting any PTZOptics camera wall mount (HCM-1, HCM-2, or PT-WM-3) to drywall, wood framing, or a U.S. double-gang device box and attaching your camera.
What's in the Box
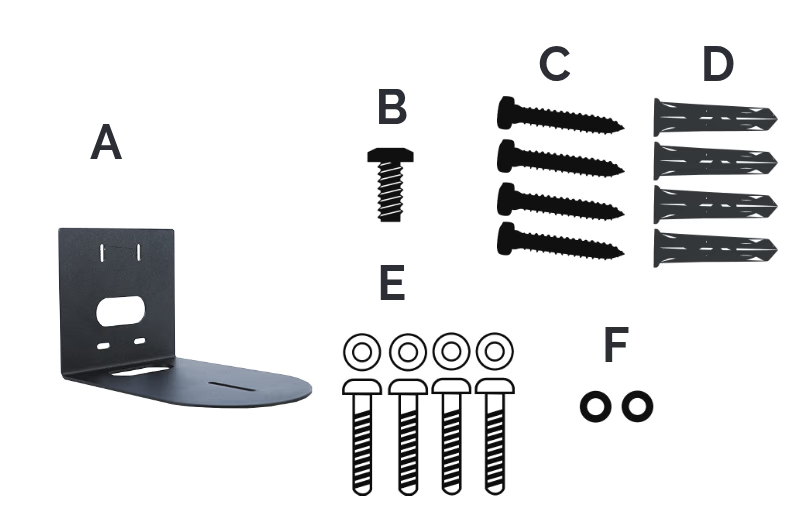
| Callout | Component | Quantity |
|---|---|---|
| A | Wall mount (HCM-1, HCM-2, or PT-WM-3) | 1 |
| B | 1/4"-20 camera mounting screw | 1 |
| C | #10-16 x 1-1/4" Phillips pan-head sheet metal screws | 4 |
| D | #10-12 x 1" conical plastic drywall anchors | 4 |
| E | #6-32 x 1" machine screws with washers | 4 |
| F | 1/4" USS flat washers | 2 |
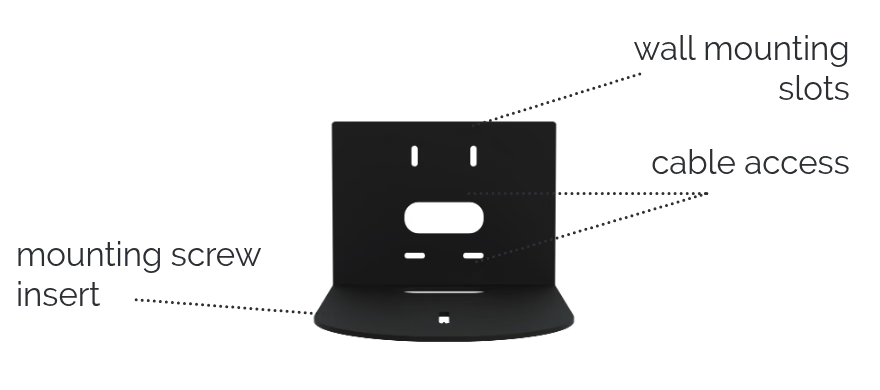
Hardware Used by Mounting Surface
| Mounting Surface | Required Hardware from Box |
|---|---|
| Wood | 4x #10-16 x 1-1/4" Phillips pan-head sheet metal screws (C) |
| Drywall | 4x #10-12 x 1" conical plastic anchors (D) and 4x #10-16 x 1-1/4" Phillips pan-head sheet metal screws (C) |
| U.S. Double-Gang Device Box | 4x #6-32 x 1" machine screws with washers (E) |
Mounting the Bracket
Drywall or Wood Installation
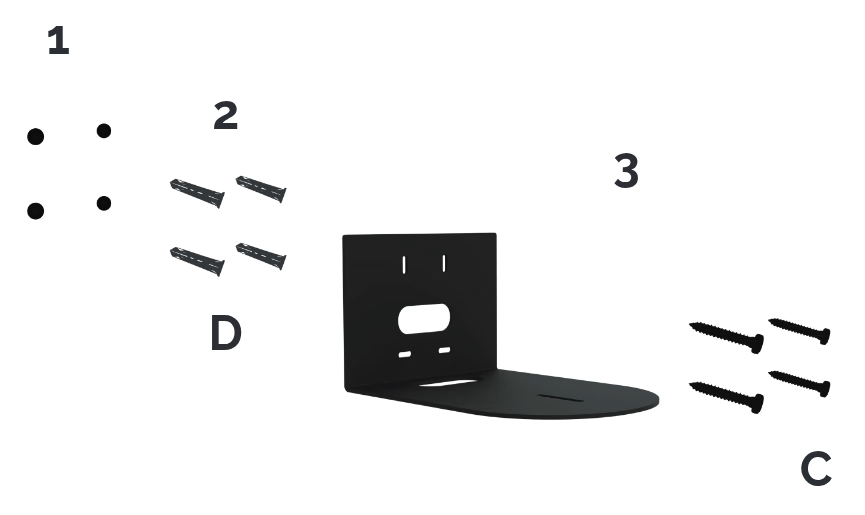
Wood Installations
When mounting directly into wood studs or wood blocking, skip step 2 and drive the #10-16 x 1-1/4" metal screws (C) directly into the wood.
- Position the wall mount (A) against the wall at the desired mounting height and mark the four mounting slot locations. If you plan to route cables inside the wall, also mark and drill a cable pass-through hole behind the mount's center cable access cutout.
- Drill four holes
1"deep at the marked locations and insert the four#10-12 x 1"conical plastic drywall anchors (D). - Place the wall mount (A) against the wall, route any in-wall cabling through the cable access cutout, and start the four
#10-16 x 1-1/4"metal screws (C) into the anchors. - Rotate the mount within its slotted holes until the camera platform is level, then tighten all four screws (C) to secure the mount.
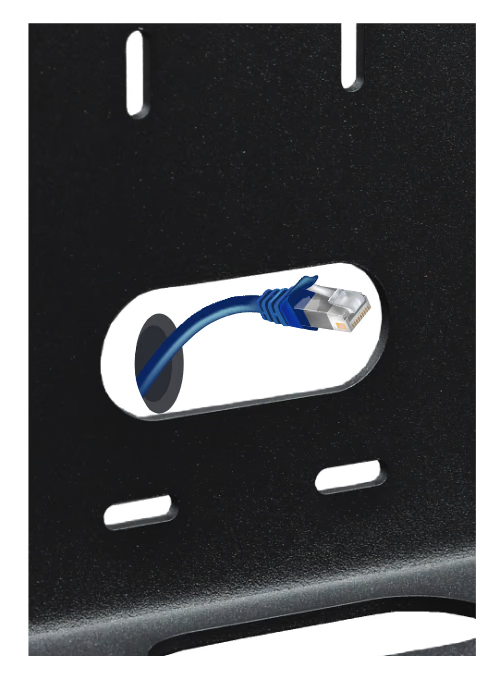
U.S. Double-Gang Device Box Installation
- Position the wall mount (A) over the installed U.S. double-gang device box so the four mounting slots align with the gang box's threaded mounting holes, routing cables through the center cable access cutout.
- Thread the four
#6-32 x 1"machine screws with washers (E) through the mounting slots into the gang box. - Rotate the mount until the camera platform is level, then tighten all four screws (E) to secure the mount.
Attaching the Camera to the Mount
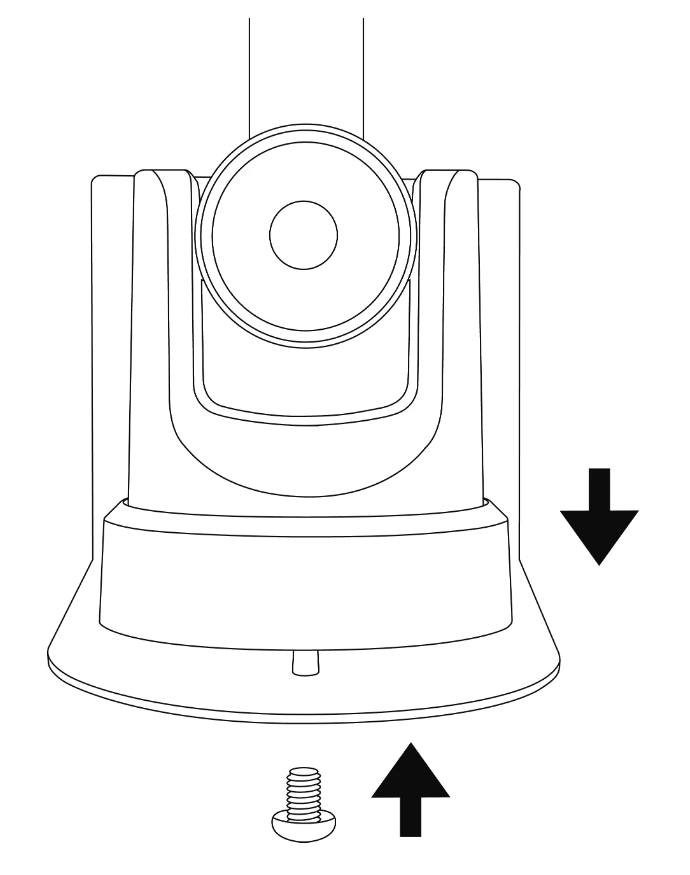
- Position the camera on the mount base in the desired orientation, leaving enough clearance behind the camera for cabling.
- Secure the camera to the wall mount from underneath using the
1/4"-20mounting screw (B). If the camera is not tightly secured against the mount base, add one or both of the included1/4"USS flat washers (F) as needed. - Connect your power, video, network, and control cables to the camera.