Using the Horizon Web UI
The Horizon Web UI is built into the PTZOptics Rise 4K. Use it to monitor live video, pan, tilt, and zoom the camera, adjust exposure and color, save shots and playlists, configure video, audio, and AVoIP outputs, and administer the camera.
Explore the Horizon Web UI
Start with the guided first session shown on the Getting Started page or jump directly to the section matching the Horizon top navigation bar.
Sign In and Initial Password Setup
Open http://[camera-ip]/ in a browser on the same local network as the camera. If you are not signed in, the camera opens the sign-in screen with Username pre-filled as admin. Enter your Password (use the eye icon to show or hide characters) and select Sign in to open the Dashboard.
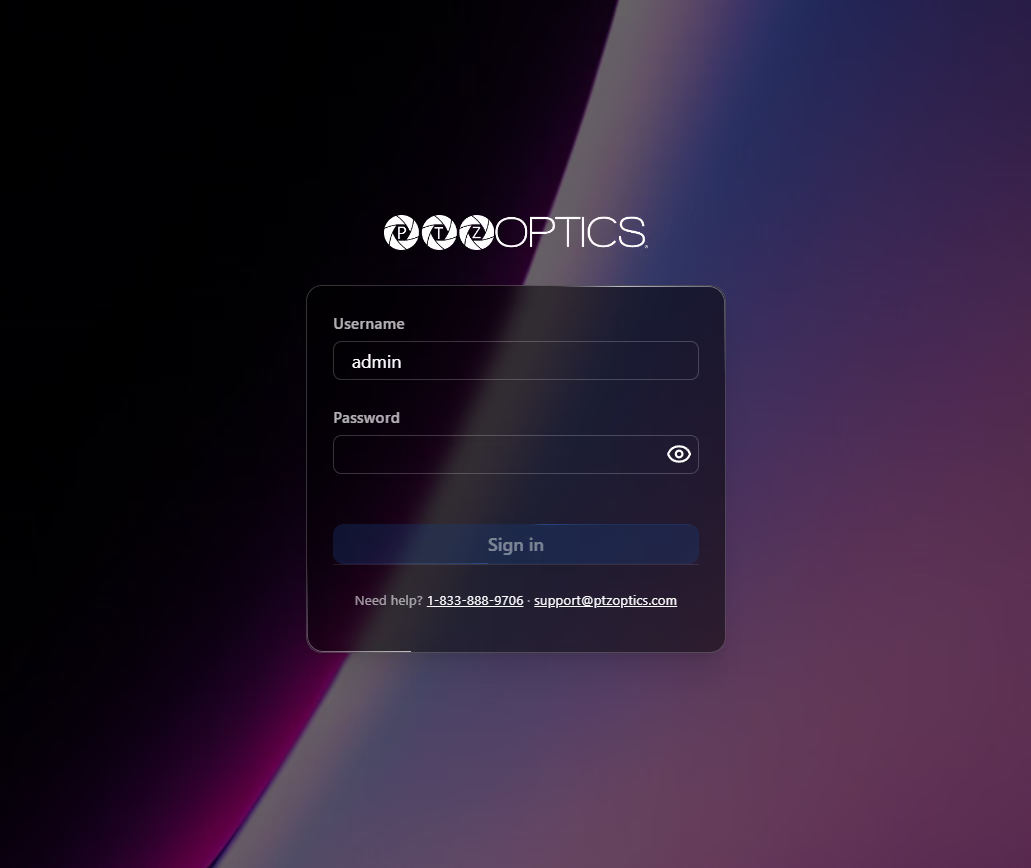
On a factory-new or factory-reset camera, signing in for the first time opens a Password Setup Required prompt asking you to set a new administrator password before accessing the interface. Store this password securely. If lost, it can only be cleared with a factory reset. To find the camera's IP address on your network, see Networking.
Top Navigation and Tabs
The top header appears on every screen and mirrors how this documentation section is organized:
| Header Item | Destination and Sub-Navigation |
|---|---|
| PTZOptics logo | Returns to the Dashboard. |
| Dashboard | Opens the live workspace (/) with Quick Tools, Quick Modes, Speed presets, drawers, and the shots strip. |
| Shots | Opens Shots, Groups, and Playlists. |
| Output | Left-rail sections: Video (IP Video, HDMI/SDI, USB), Audio, and AVoIP (RTMP, SRT, RTP/RTSP, ONVIF, NDI®), plus the right-hand Device Sidebar. |
| Device | Left-rail sections: Network (LAN, NTP, Ports), Motion (Tracking, Focus, Free D (Beta)), Users (Access, API), Recording, and System (Settings, OSD, Advanced), plus the right-hand Device Sidebar. |
In a narrow browser window, Horizon switches to a compact layout: Dashboard sidebar group labels hide, the speed preset buttons collapse behind a single Speed button, and top navigation collapses into an Open navigation menu button.
Saving Changes: Apply, Cancel, Default, and Unsaved Edits
Most Output and Device tabs stage edits until you save them with the action bar at the bottom of the tab:
| Control | Behavior |
|---|---|
| Apply | Writes the current tab's changes to the camera and displays a confirmation toast. On tabs such as Audio and NTP, the toast notes when a reboot may be required for changes to take effect. |
| Cancel | Discards unapplied edits on the current tab and restores the camera's saved values. |
| Default | Loads factory default values for the current tab's fields. On staged settings pages, select Apply afterward to commit them. |
| Orange dot on a tab label | Indicates that the tab contains unapplied edits. |
| Unsaved Changes dialog | Appears if you navigate away with unapplied edits, letting you keep editing, discard changes, or apply all valid changes before leaving. |
Live operator controls apply immediately without an Apply button:
- Dashboard toggles (Automation, Auto Focus, Record), Speed presets, and the Speed Settings drawer's Live and Acceleration sliders.
- The Image Settings and Video Tools drawers on the Dashboard (each Image Settings tab has its own Default button).
- Background theme and animation settings under Device > System > Settings, which are saved in your local browser rather than on the camera.
Across settings forms, switch controls toggle between On and Off, numeric inputs show their valid range underneath the field (for example *Range from 1025-65535), and dependent fields remain dimmed until their parent switch or mode enables them.