Device: System
Device > System configures camera identity, IR remote addressing, Web UI appearance, power-on position, the on-screen display (OSD) menu, and factory resets across three tabs: Settings, OSD, and Advanced.
Settings
The Settings tab groups four configuration cards:
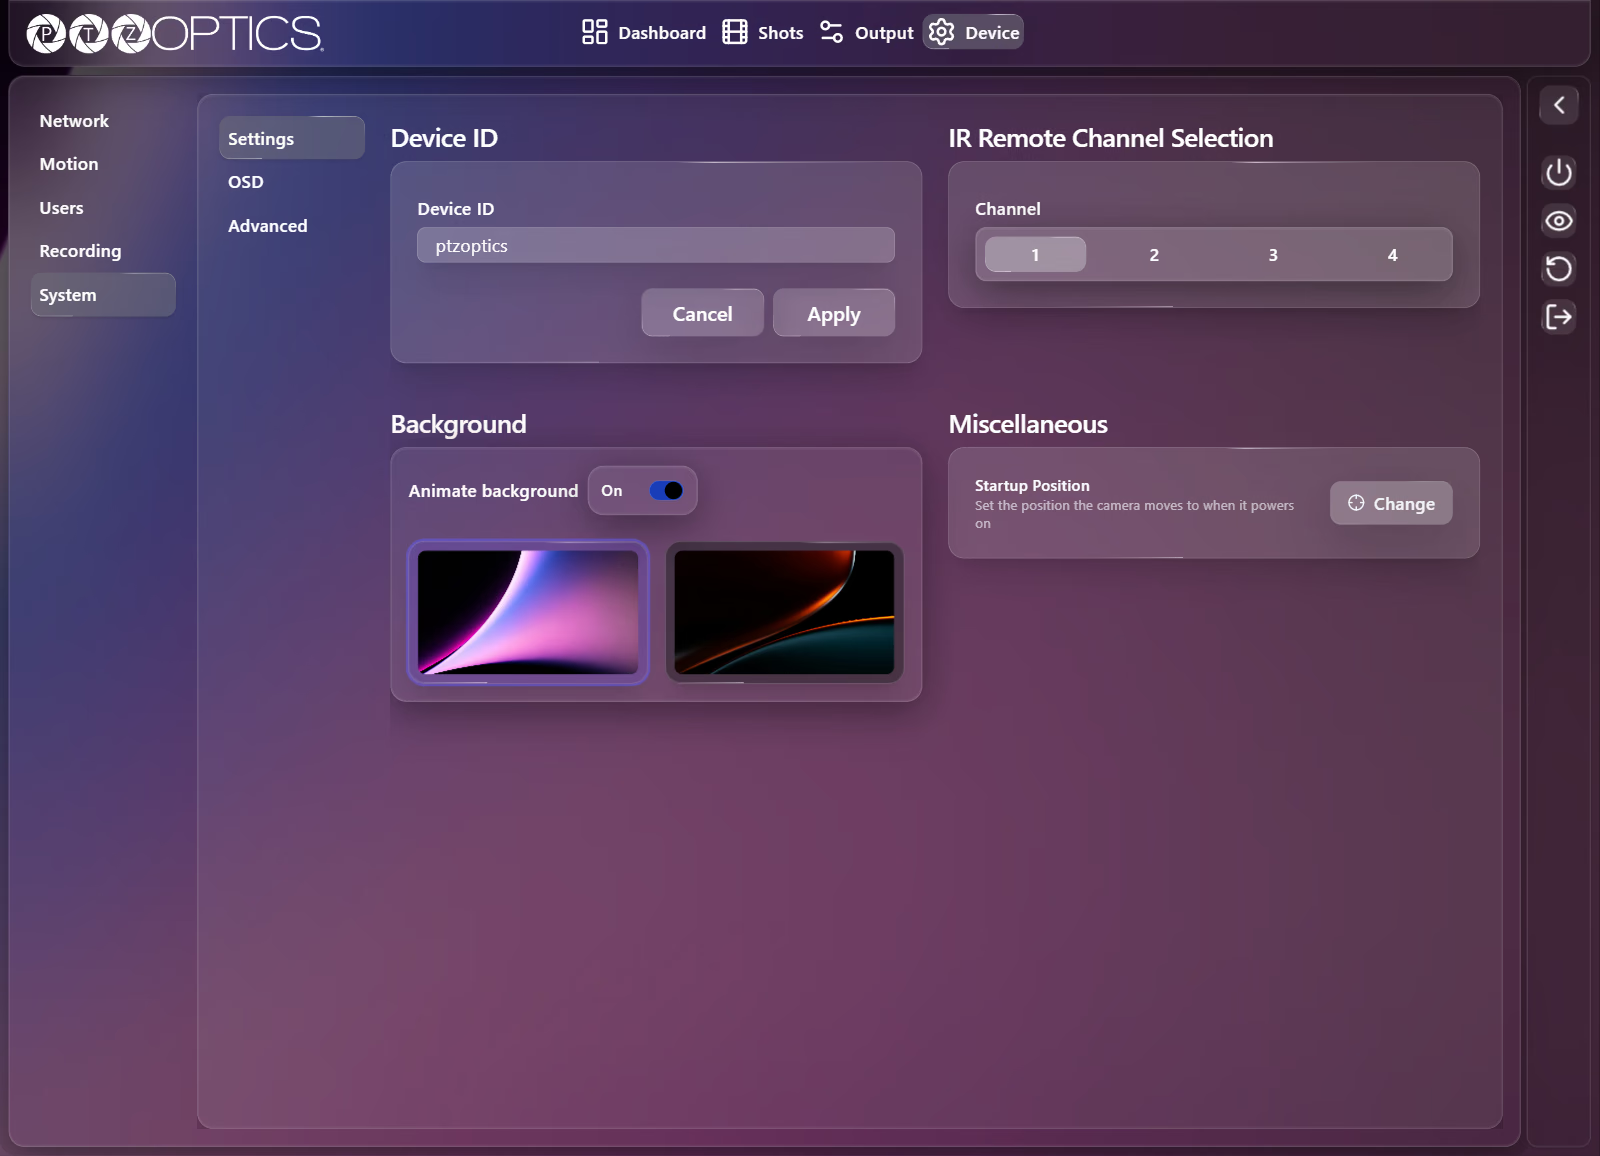
Device ID
| Setting | Control | Behavior |
|---|---|---|
| Device ID | Text field with Cancel and Apply buttons | Sets the camera's friendly name displayed in the Device Sidebar and used for .local hostname identification on your network. |
IR Remote Channel Selection
| Setting | Control | Options |
|---|---|---|
| Channel | Segmented buttons | 1, 2, 3, 4 (matches the camera selector buttons on the handheld IR remote; see Using the IR Remote) |
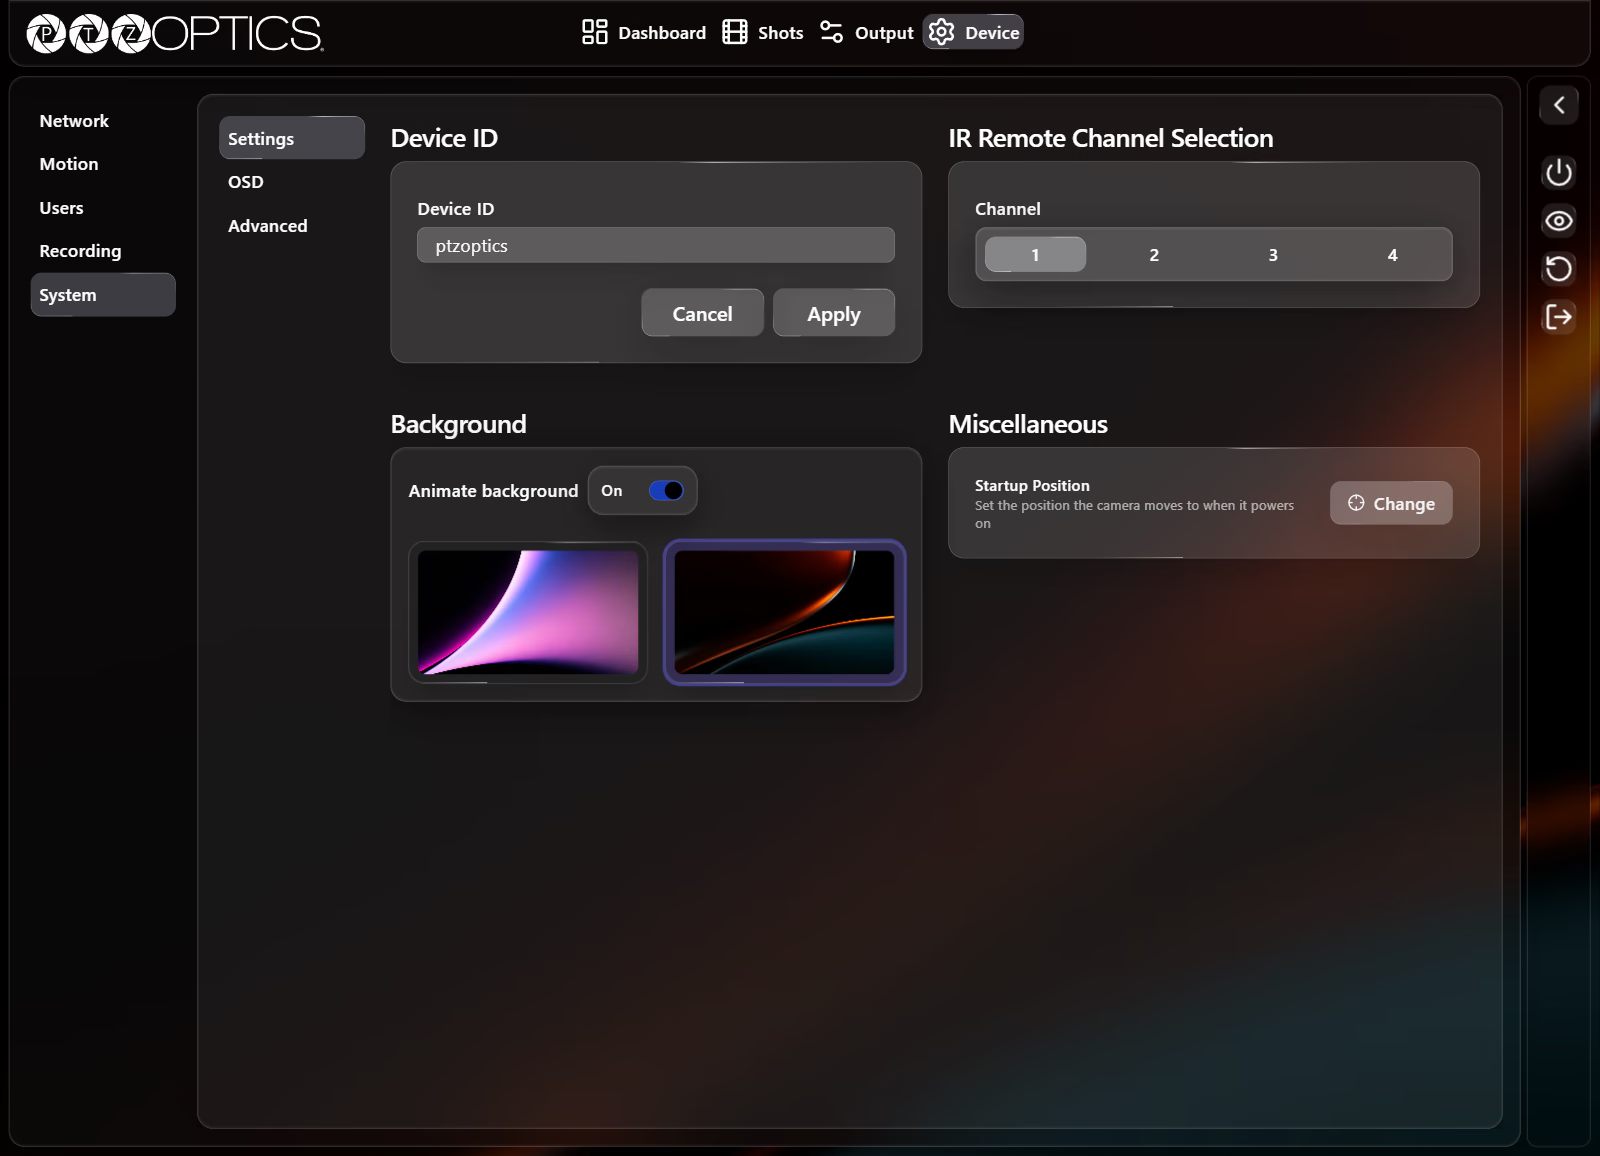
Background
| Setting | Control | Behavior |
|---|---|---|
| Animate background | Switch | Turns the animated Web UI glass background On or Off. |
| Selectable Backgrounds | Theme thumbnails | Switches the Horizon Web UI background theme immediately. |
Background preferences apply immediately without an Apply button and are saved in your local browser rather than on the camera.
Startup Position
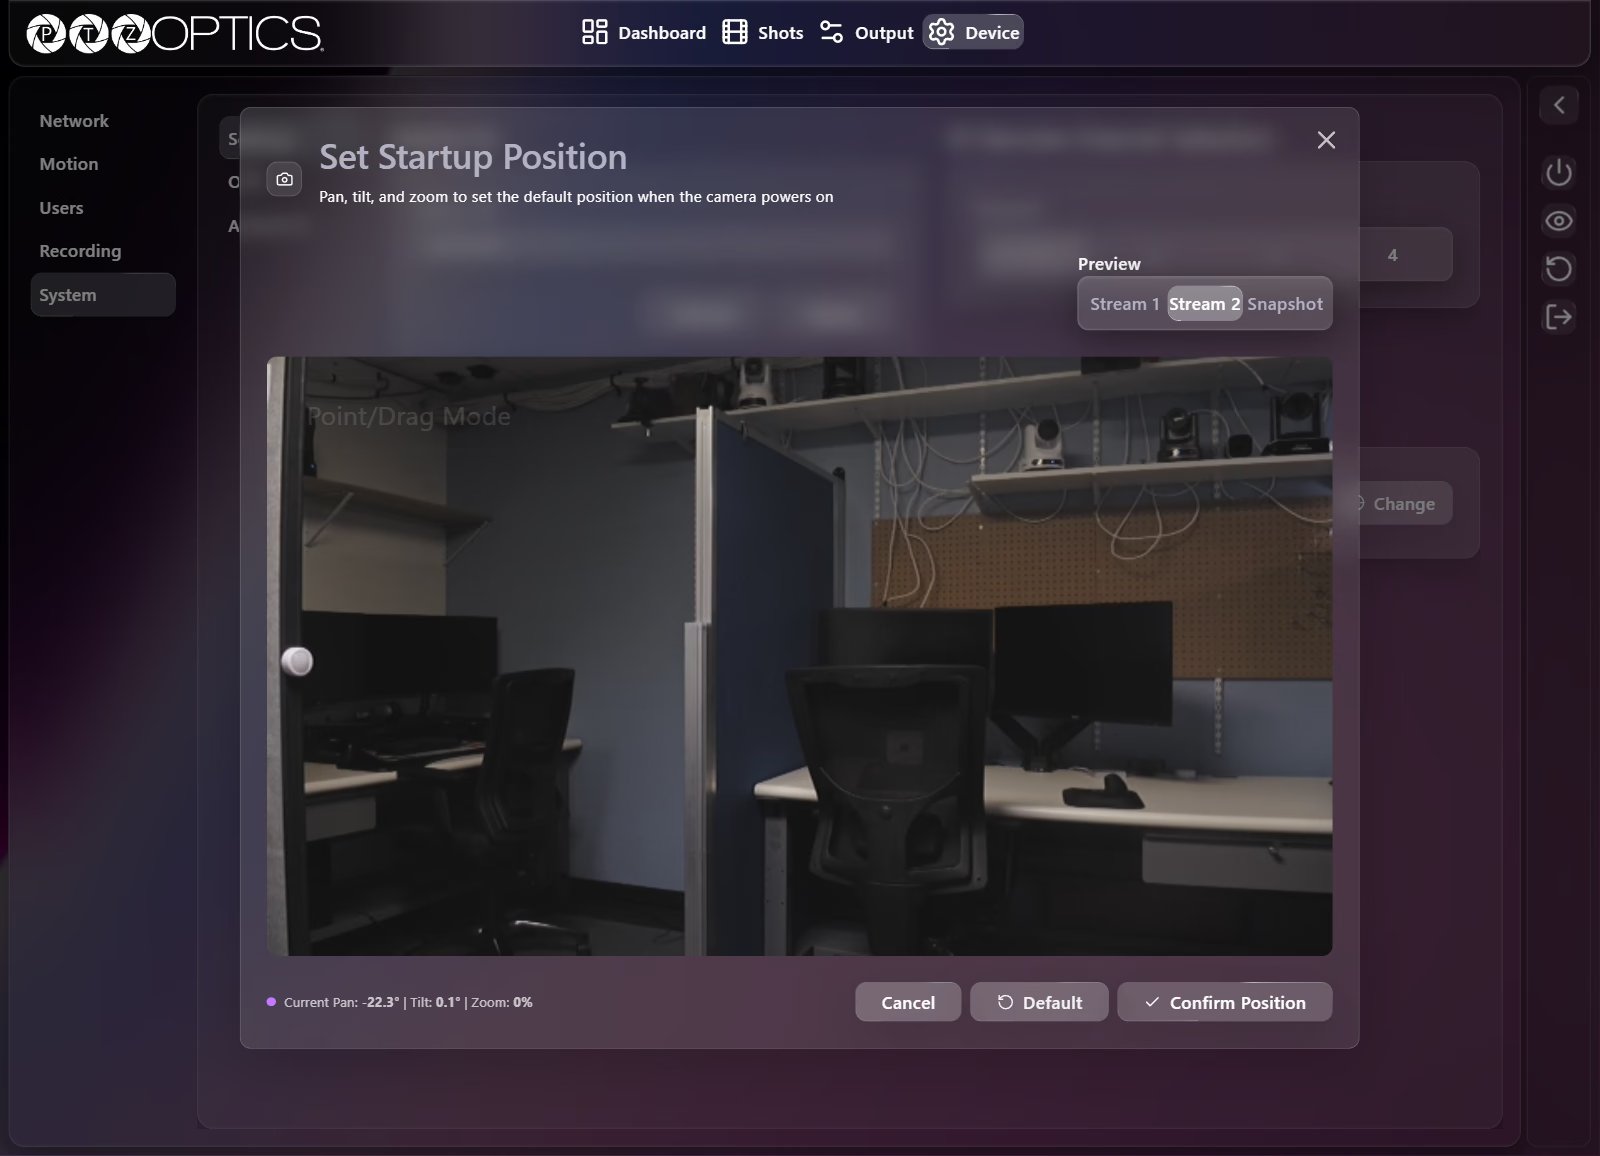
Under Miscellaneous, Startup Position ("Set the position the camera moves to when it powers on") opens the Set Startup Position dialog when you select Change:
- Preview selector (Stream 1, Stream 2, or Snapshot) with a live interactive video preview so you can pan, tilt, and zoom to the desired power-on position.
- Live coordinate readout below the video showing Current Pan, Tilt, and Zoom (for example
Pan: -22.3° | Tilt: 0.1° | Zoom: 0%). - Cancel, Default, and Confirm Position buttons.
OSD
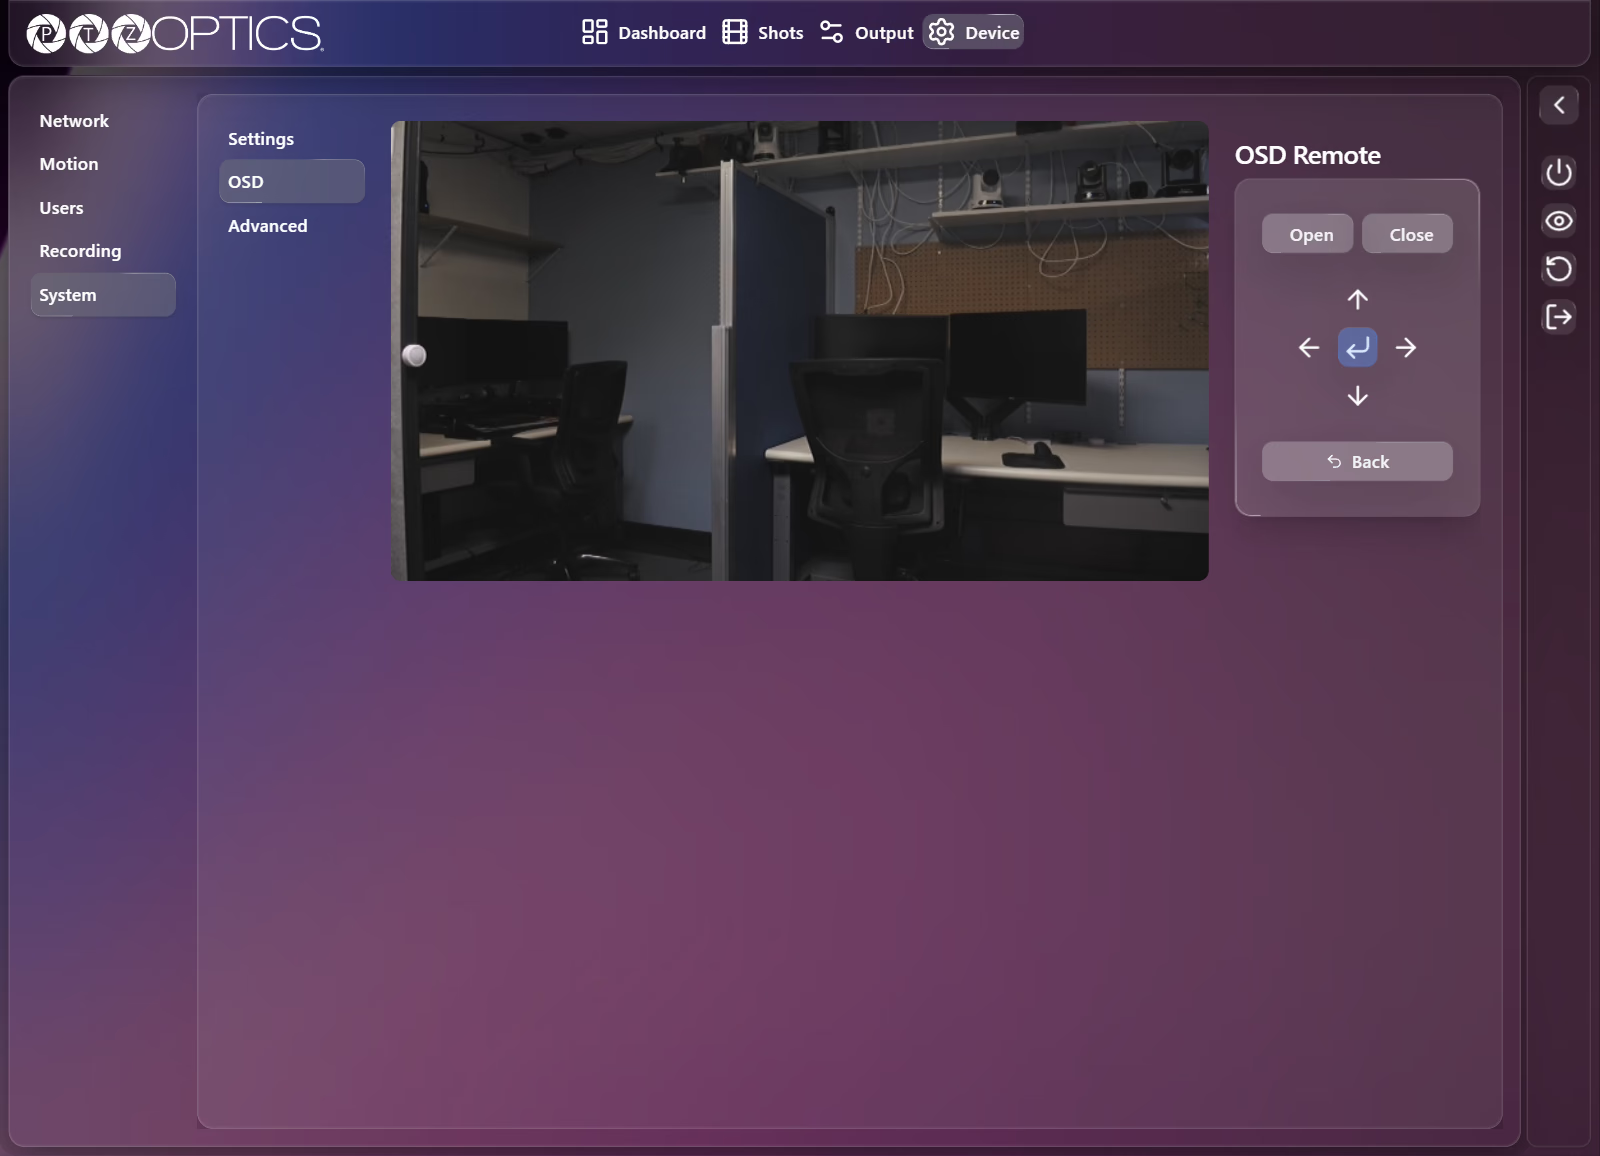
The OSD tab pairs a live video preview with a virtual OSD Remote so you can navigate the camera's hardware on-screen menu from a browser. For a complete reference of every OSD menu item, see The OSD Menu.
OSD Remote Controls
| Control | Behavior |
|---|---|
| Open | Opens the camera's OSD menu overlay on the video feed. |
| Close | Closes the OSD menu overlay. |
| Up, Down, Left, and Right arrows | Moves the menu highlight or adjusts the selected OSD value. |
| Enter (return arrow) | Opens the highlighted submenu or confirms the highlighted action. |
| Back | Steps back to the parent OSD menu. |
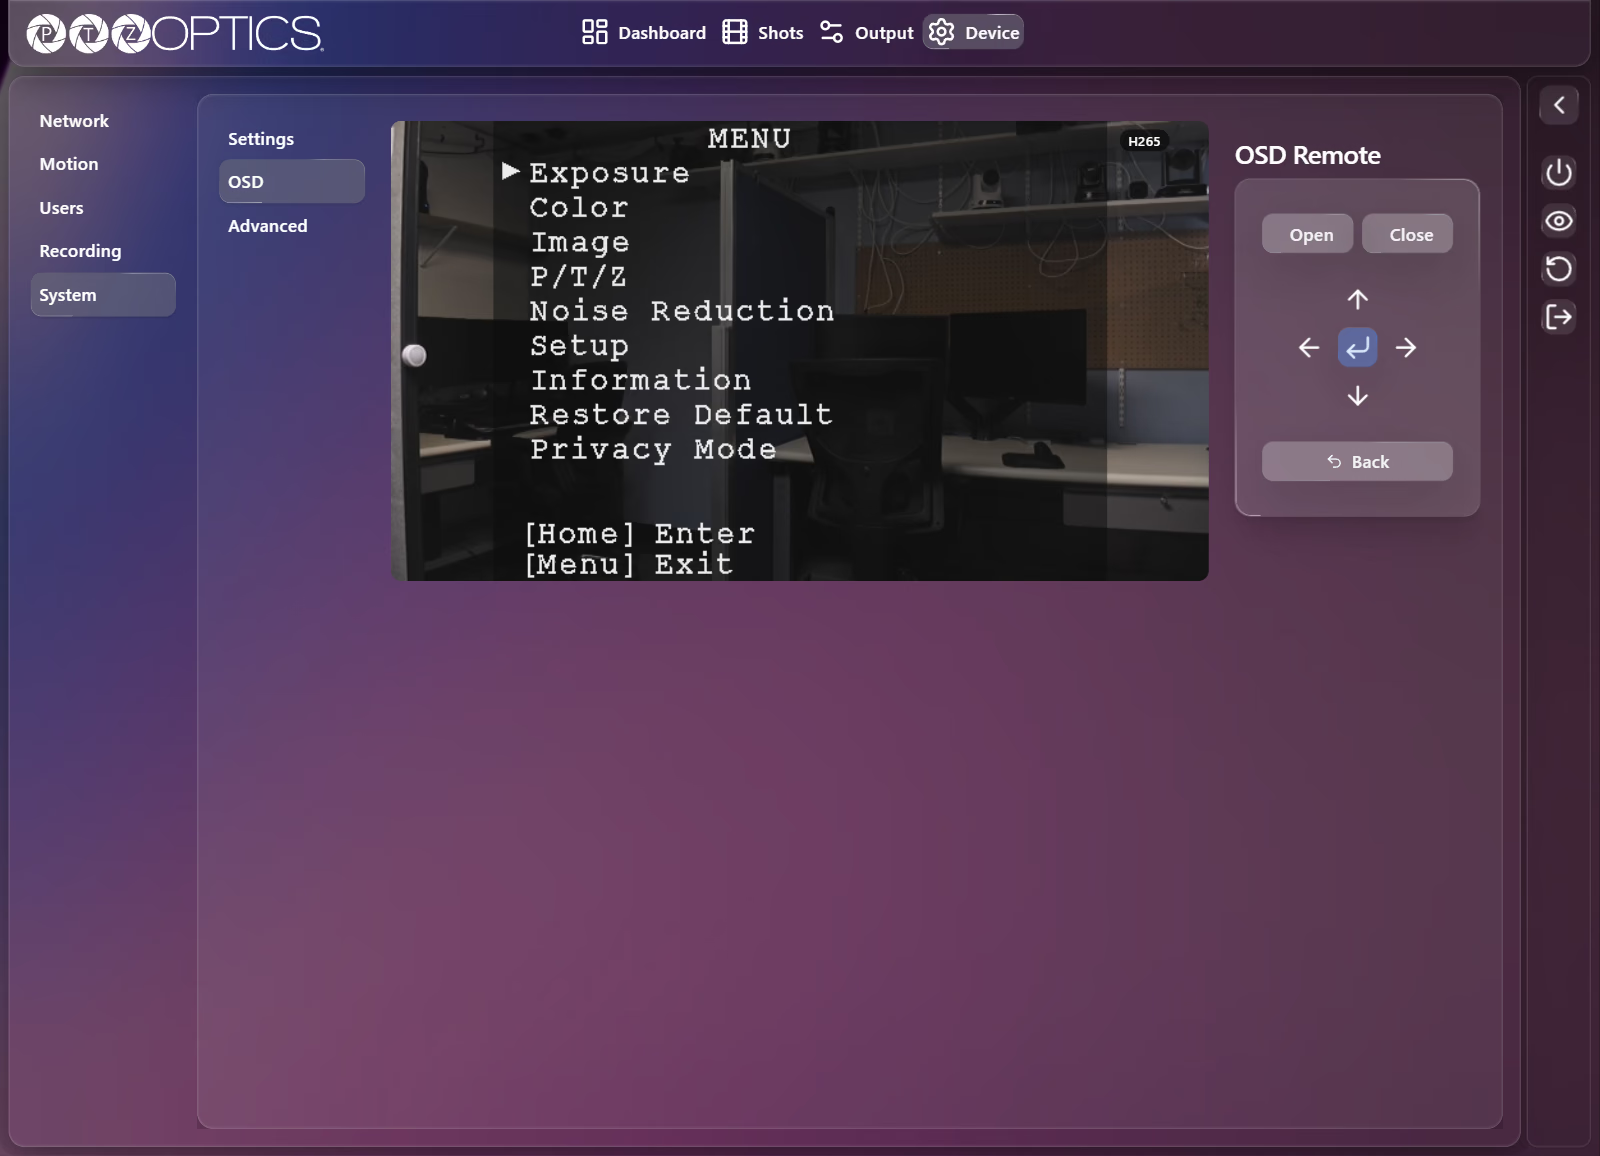
In the main OSD menu, Restore Default sits directly below Information and resets camera parameters when confirmed with Enter. Always verify which row is highlighted before selecting Enter.
Checking Hardware and Firmware Information
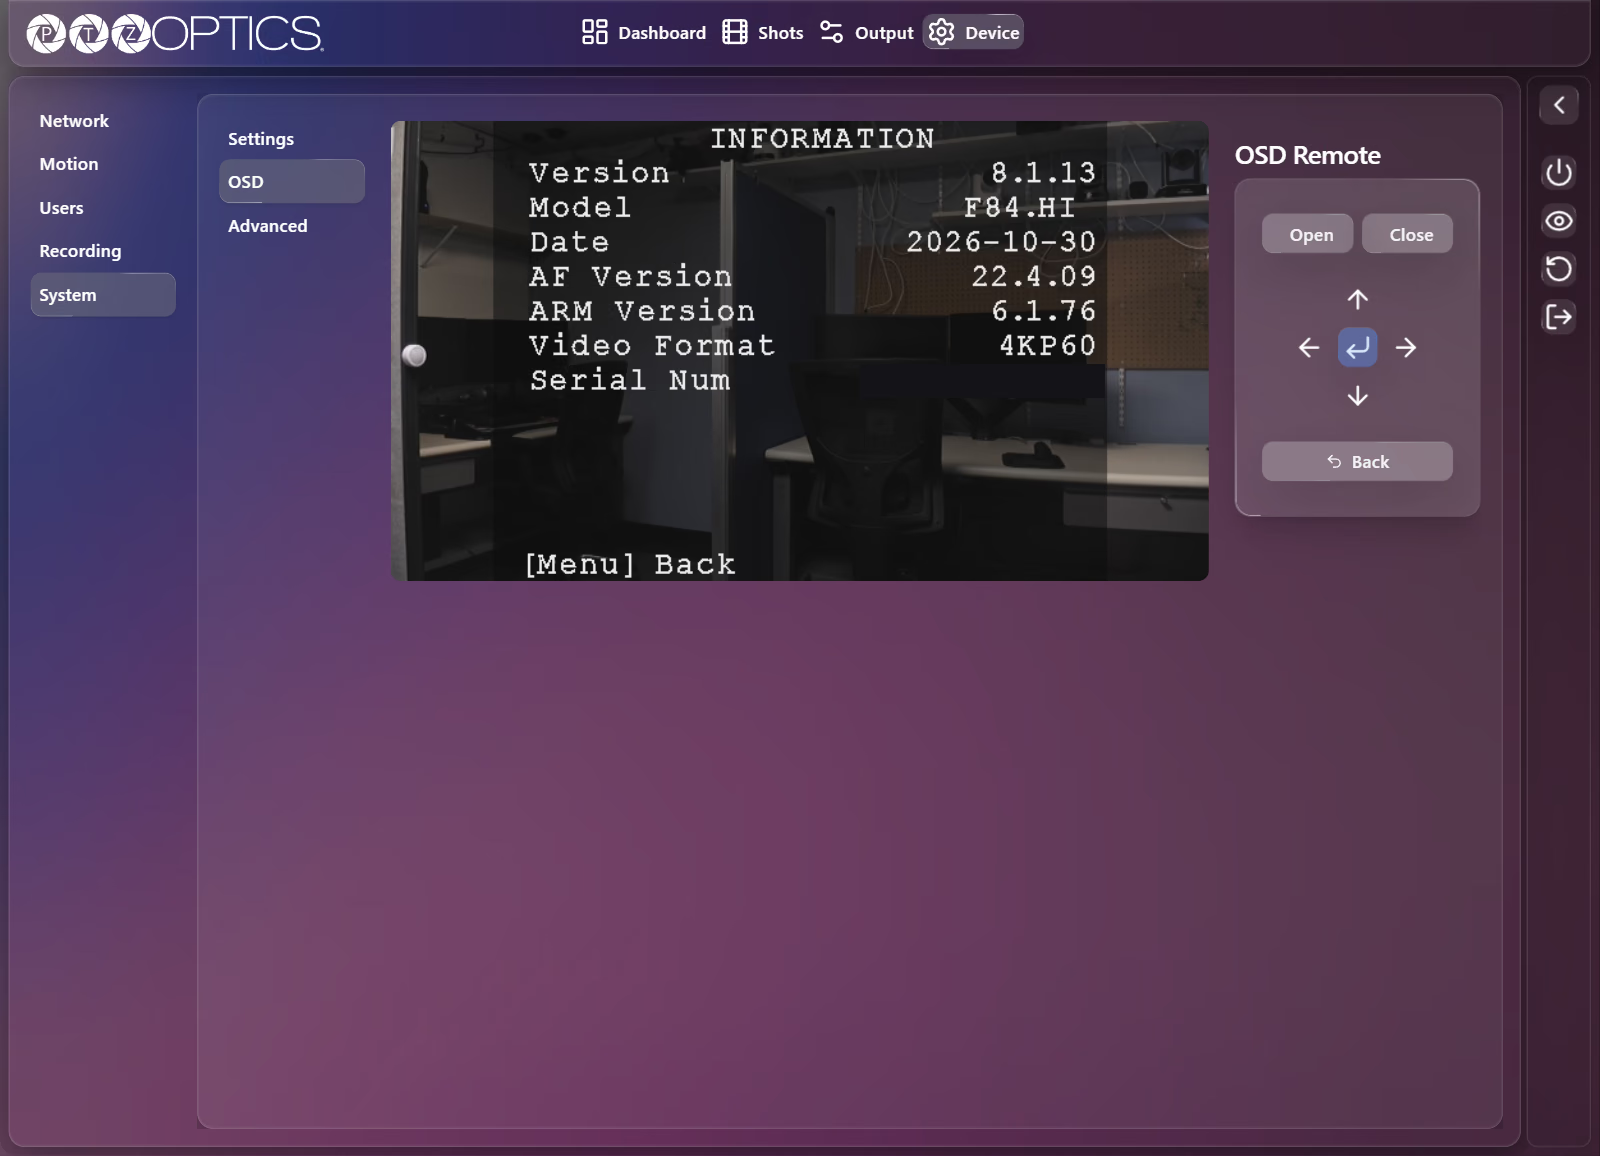
While Firmware and Horizon Version are always visible in the right-hand Device Sidebar, opening Information in the OSD (Open → press Down six times to highlight Information → Enter) additionally displays the hardware Model, build Date, AF Version, ARM Version, Video Format, and Serial Num. See The OSD Menu.
Advanced: Restore Defaults
The Advanced tab contains the Restore Defaults card with three reset options:
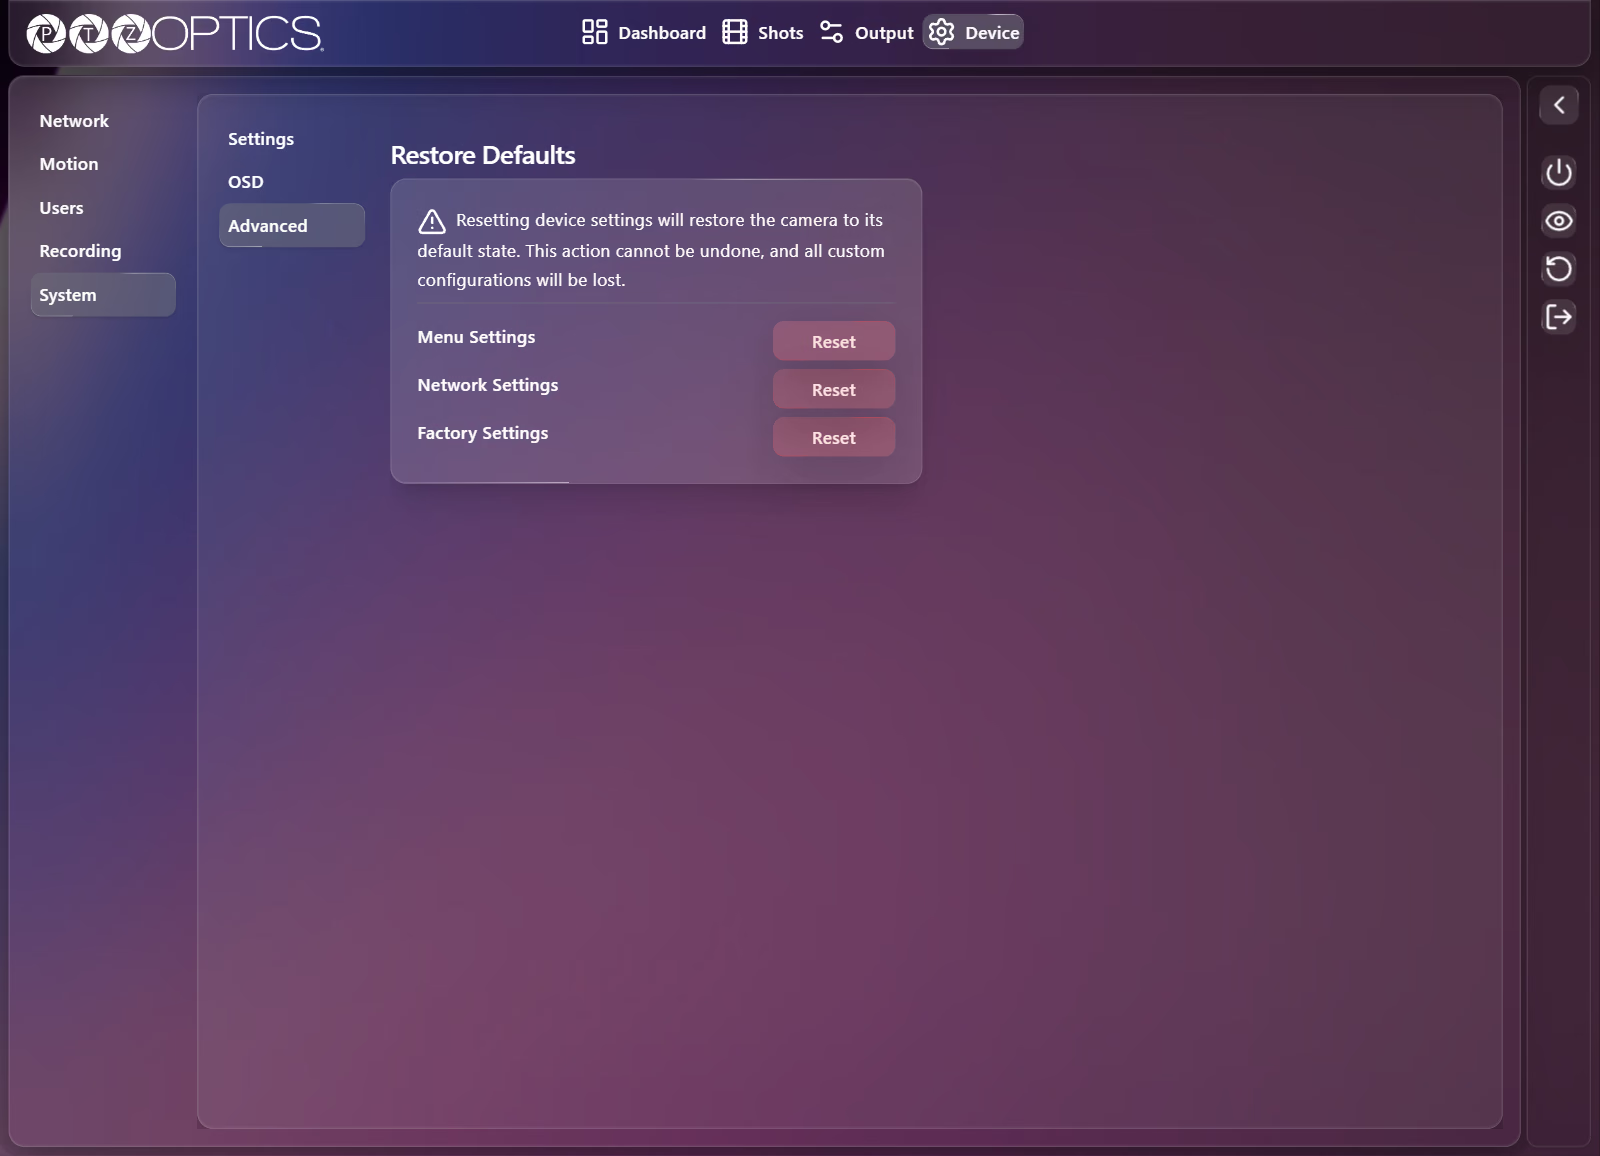
Restoring defaults permanently erases custom configurations for the selected scope and cannot be undone.
| Reset Option | Button | Scope |
|---|---|---|
| Menu Settings | Reset | Restores camera image, exposure, color, and menu parameters to factory defaults while keeping network configuration. |
| Network Settings | Reset | Restores IP, port, and network configuration to factory defaults. |
| Factory Settings | Reset | Restores all camera settings and credentials to factory defaults. |