Video Tools
The Video Tools drawer configures how you interact directly with the live preview canvas on the Dashboard, which composition guide is drawn over the preview, which stream is previewed, and the camera's pan/tilt movement boundaries. Open or close it with Video Tools under Quick Tools.
Changes to Control Mode, Overlay Layout, and Stream Preview take effect immediately without an Apply button.
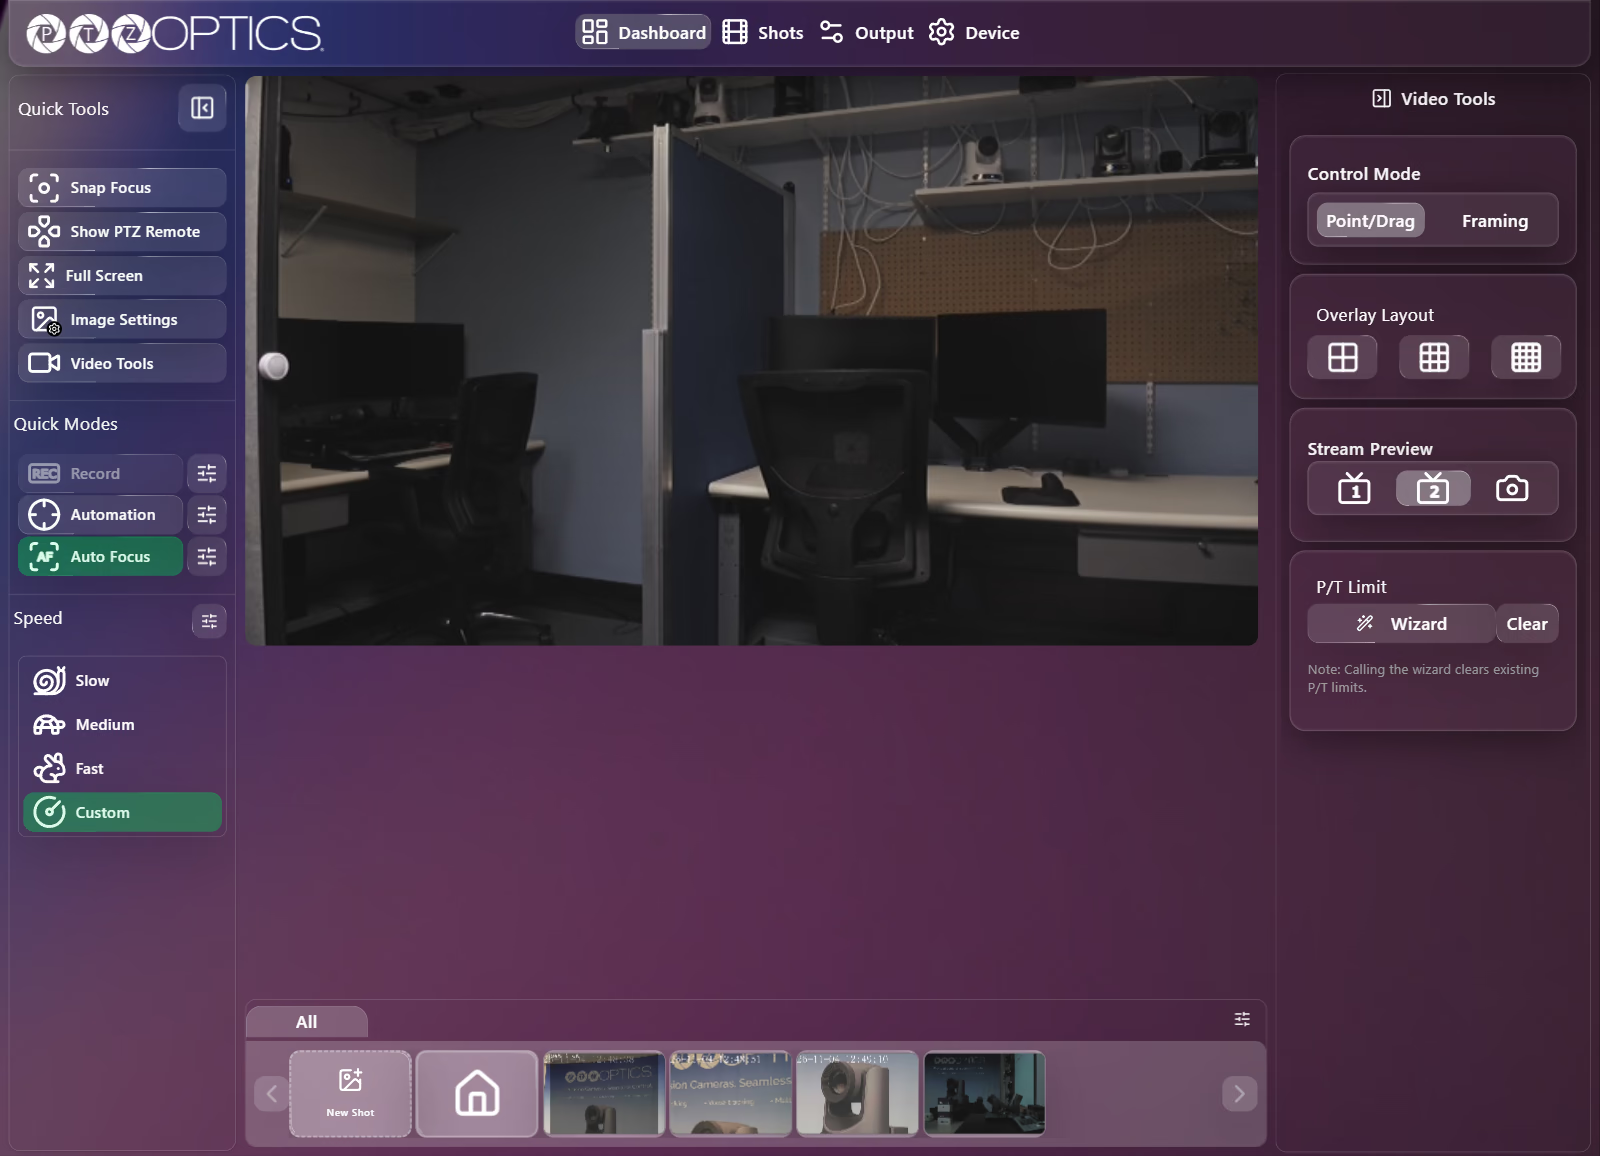
Control Mode: Point/Drag and Framing
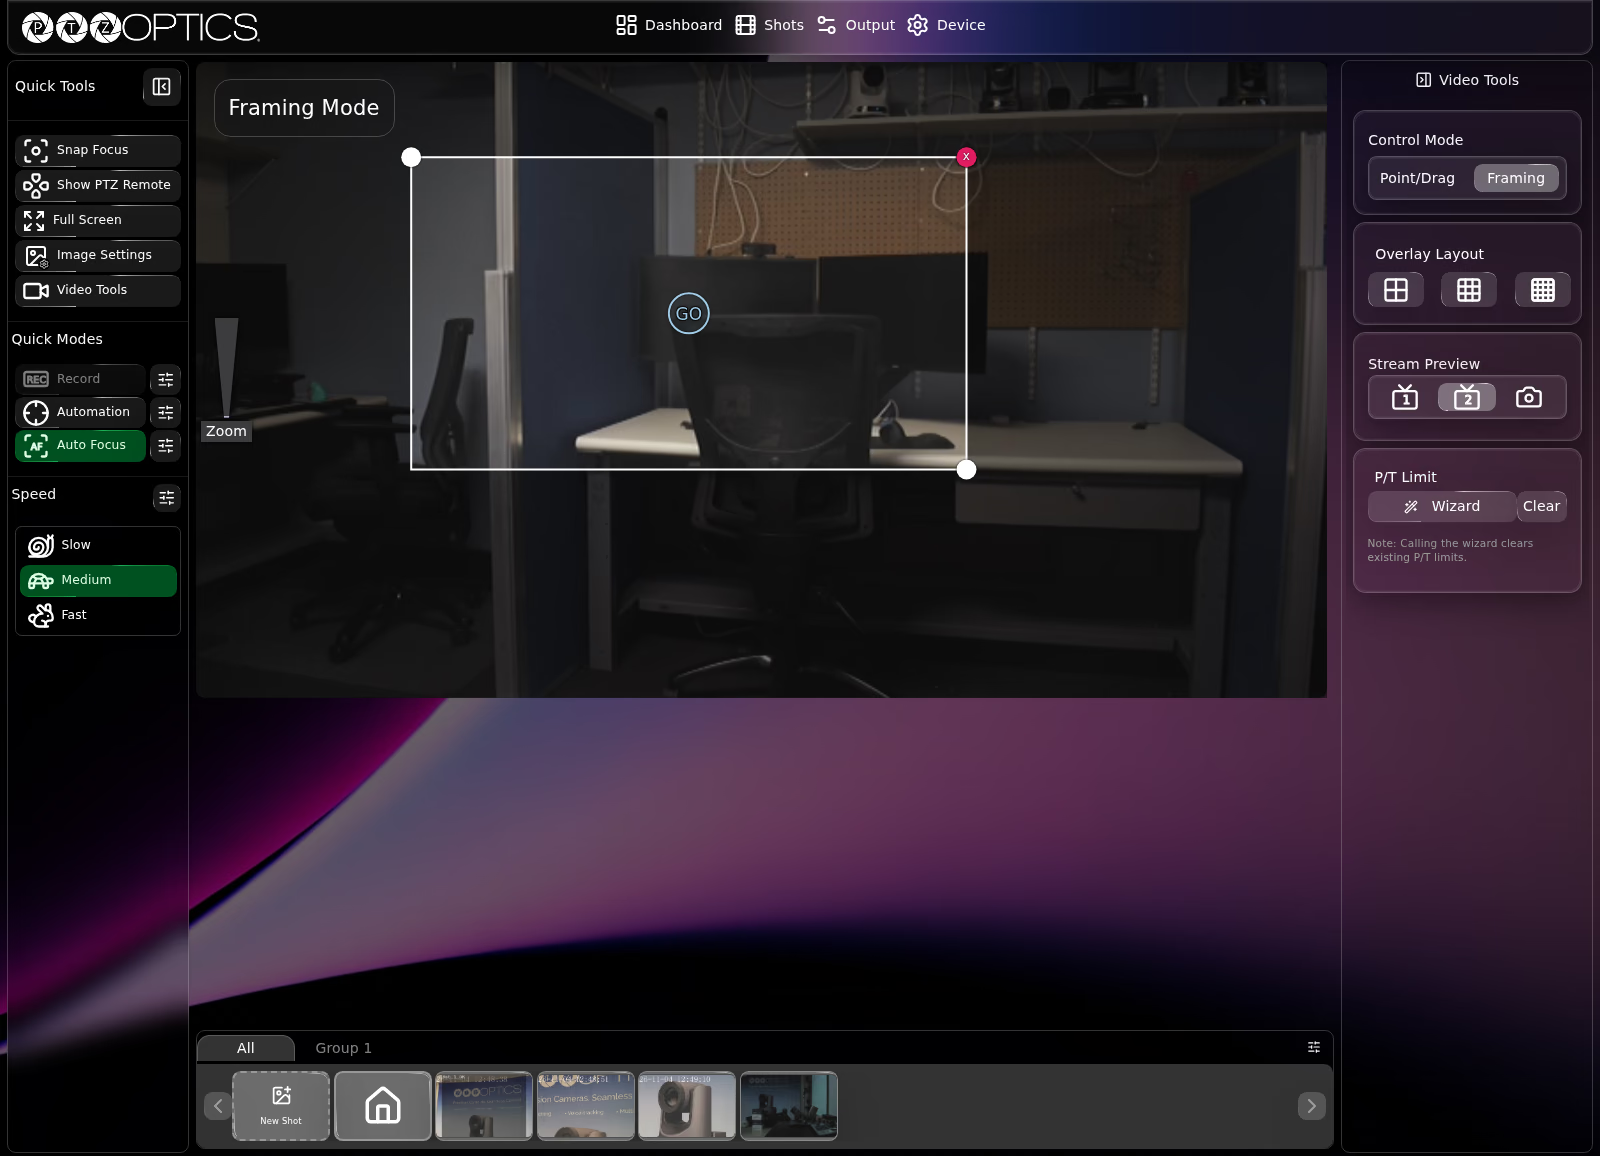
Control Mode sets how mouse or touch gestures on the live video preview steer the camera:
| Mode | How It Works |
|---|---|
| Point/Drag | Displays Point/Drag Mode on the preview. Click and release a spot to center the camera on that point, or click and drag as a virtual joystick—the direction you drag steers pan and tilt, and how far you drag controls movement speed. Scroll the mouse wheel or use the on-preview Zoom slider along the left edge to zoom. |
| Framing | Displays Framing Mode on the preview. Click or drag to draw a target rectangle over the area of interest, adjust its size or position using the corner anchors (or clear it with the pink x button), and select GO in the center of the box to pan, tilt, and zoom to that region. |
Overlay Layout
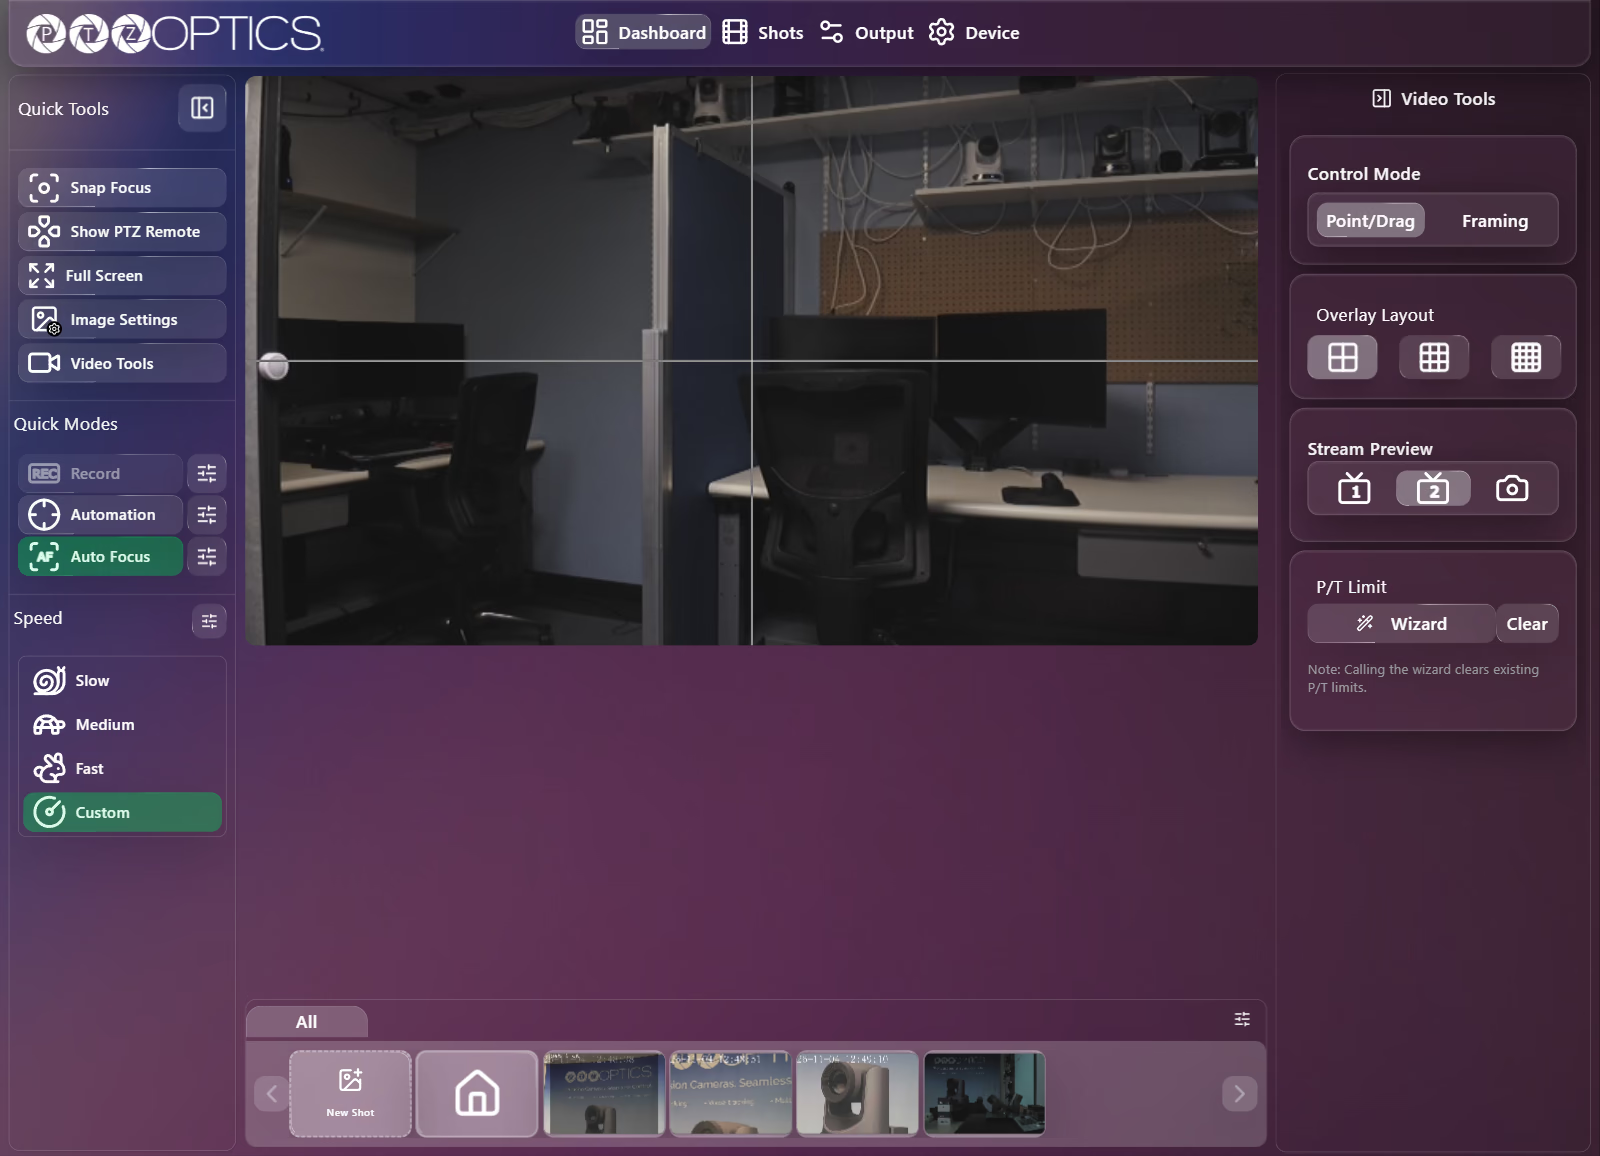
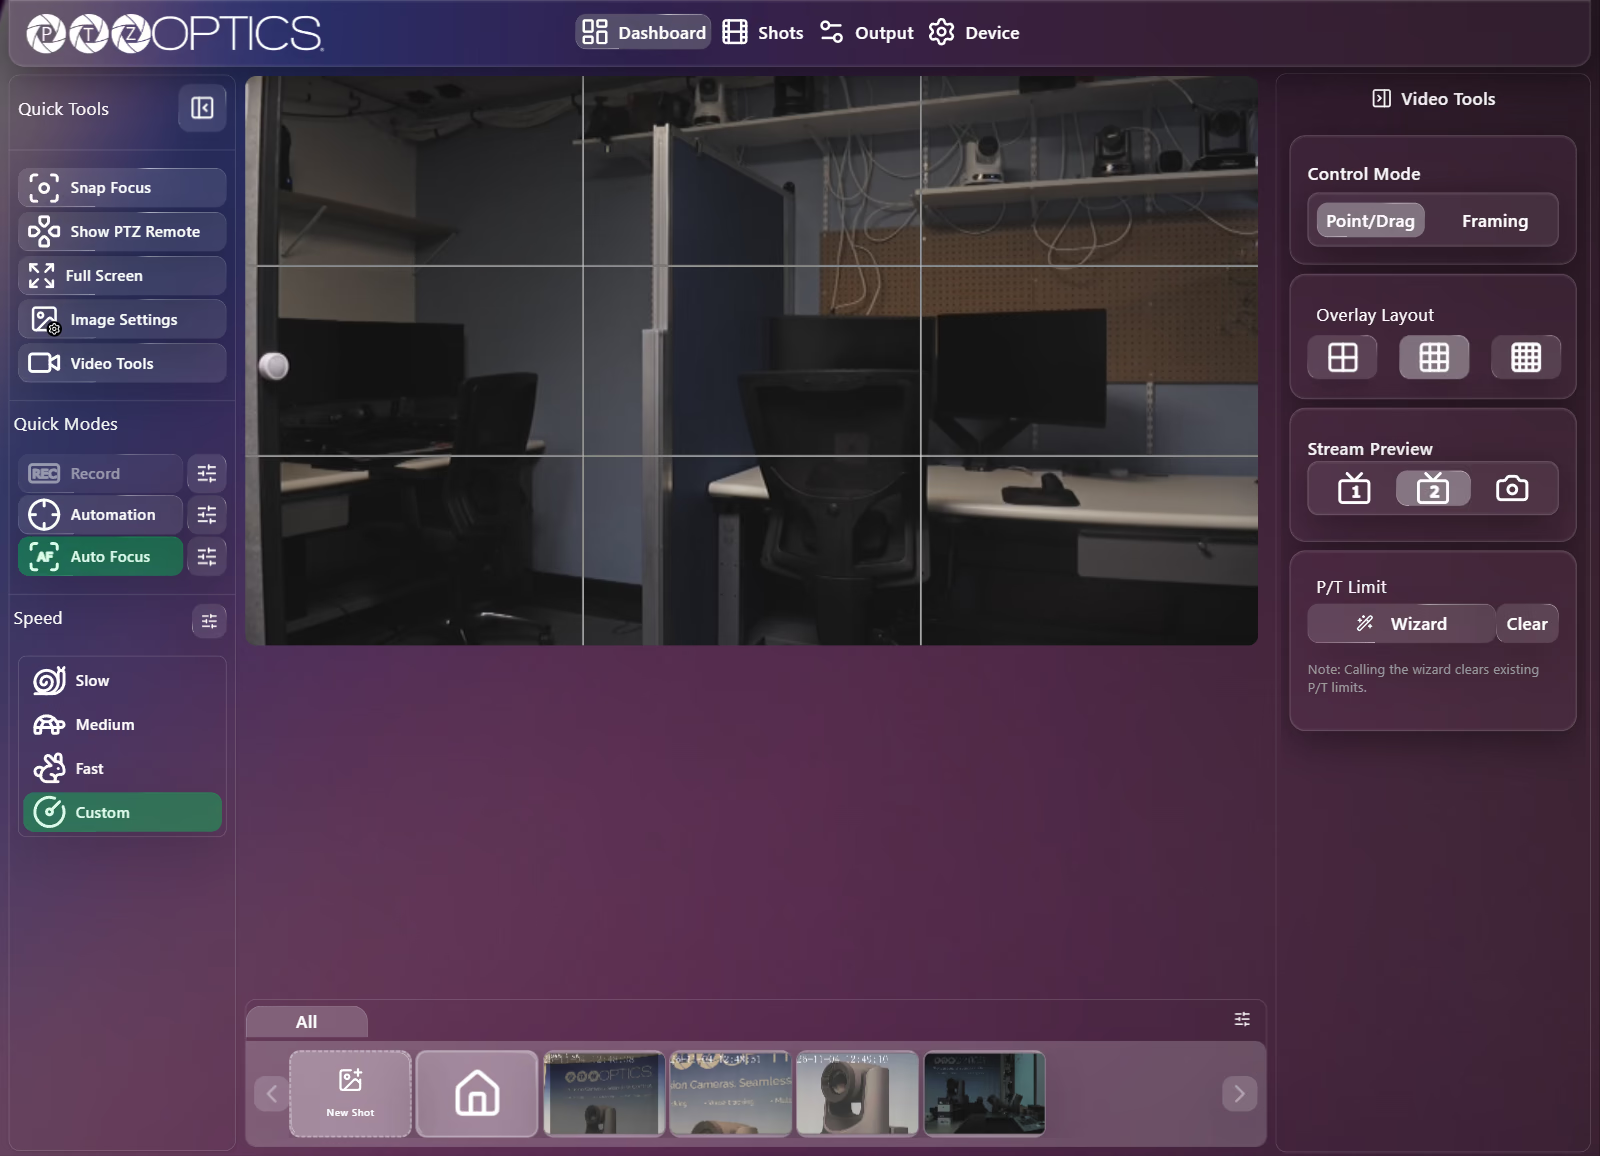
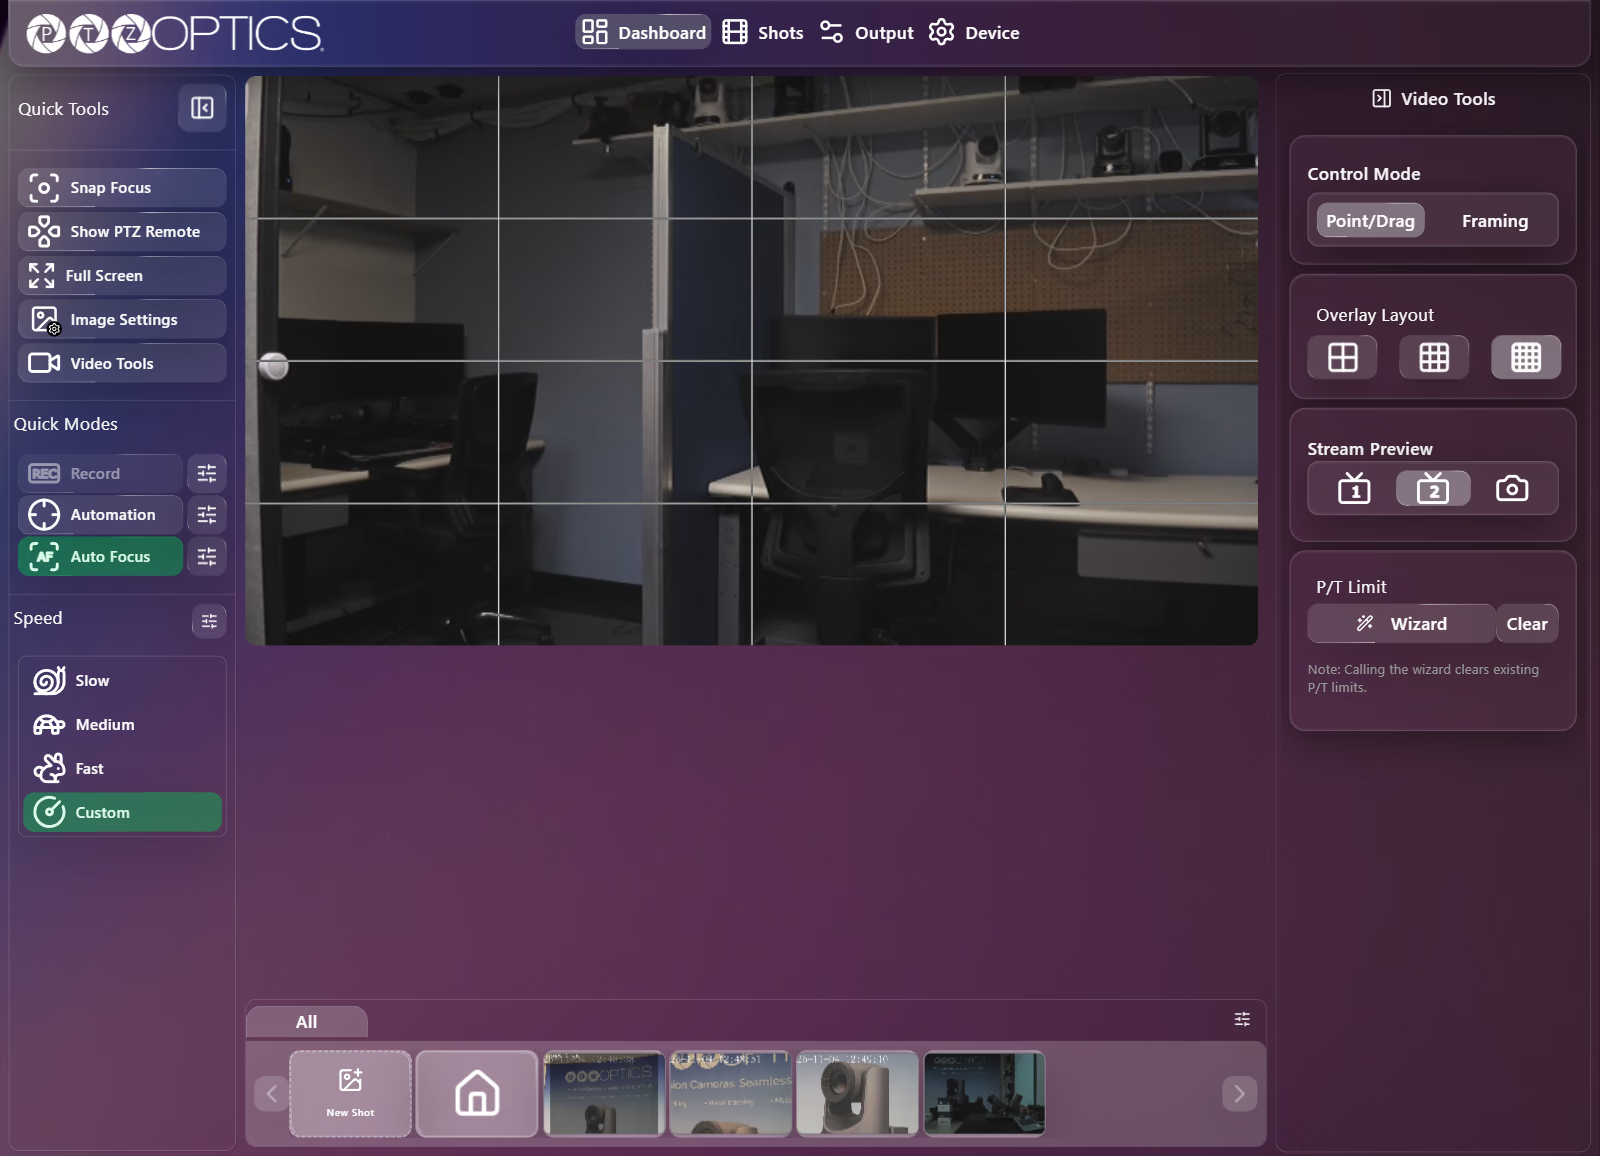
Three toggle buttons draw non-destructive composition guides over the browser preview (they are not burned into the camera's video outputs). Select the active icon again to turn the overlay off:
| Button | Guide Drawn on Preview |
|---|---|
| Center Cross mode | One horizontal line and one vertical line intersecting at the center of the frame. |
| Rule of Thirds mode | A 3 × 3 composition grid. |
| Quarters mode | A 4 × 4 alignment grid. |
Stream Preview
Three buttons choose which feed renders inside the Dashboard preview player:
| Button | Preview Source |
|---|---|
| 1 (Stream 1) | Previews Stream 1 (high-resolution primary IP video stream). |
| 2 (Stream 2) | Previews Stream 2 (lower-resolution secondary IP video stream). |
| Snapshot (camera icon) | Displays a periodically refreshed still image instead of live video, useful on low-bandwidth connections. |
A codec or transport badge (H264, H265, MJPEG, or Snapshot) appears at the top right of the video when the preview first loads or switches to a different format, then disappears after about 10 seconds. If Stream 1 and Stream 2 use the same codec, switching between 1 and 2 will not display the codec badge again.
To change the resolution, frame rate, codec, or bitrate of Stream 1 and Stream 2, see Output: Video.
Pan/Tilt Limit Wizard
P/T Limit restricts the camera's physical pan and tilt range so operators cannot accidentally pan past the edge of a set or into obstructions.
Selecting Wizard clears any saved pan and tilt limits right away. Note your current boundary positions before starting if you may need to restore them.
Set Pan/Tilt Limits with the Wizard
-
In Video Tools, select Wizard under P/T Limit. Corner brackets and a boundary prompt appear on the live video preview.
-
Steer the camera to the bottom-left corner of your allowed movement area (
"Move to the bottom left corner of where you intend to set your boundary zone.") and select Next →.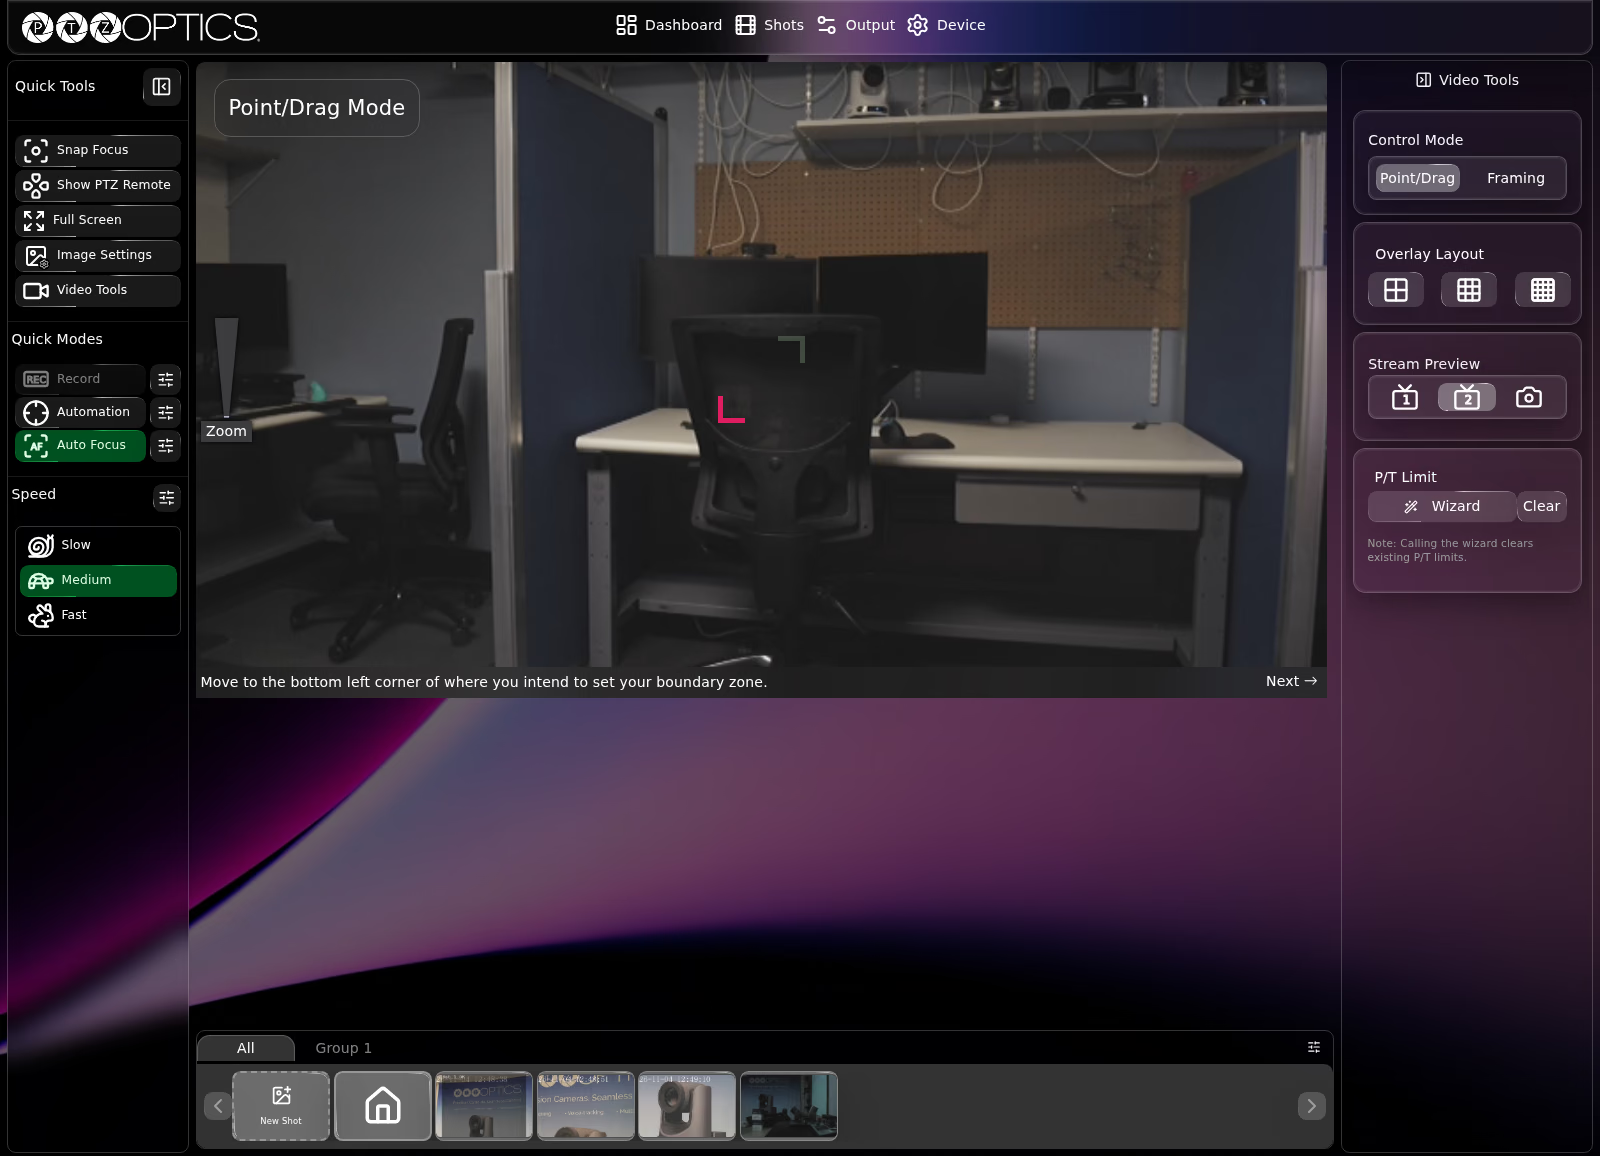
-
Steer the camera to the top-right corner of your allowed movement area (
"Move to the top right corner of where you intend to set your boundary zone.") and select Next →. -
When the prompt reads
"Press confirm to apply the changes made.", select Confirm to save the boundary zone (or Cancel to exit without saving). A"Successfully applied changes!"message confirms that the limits are active.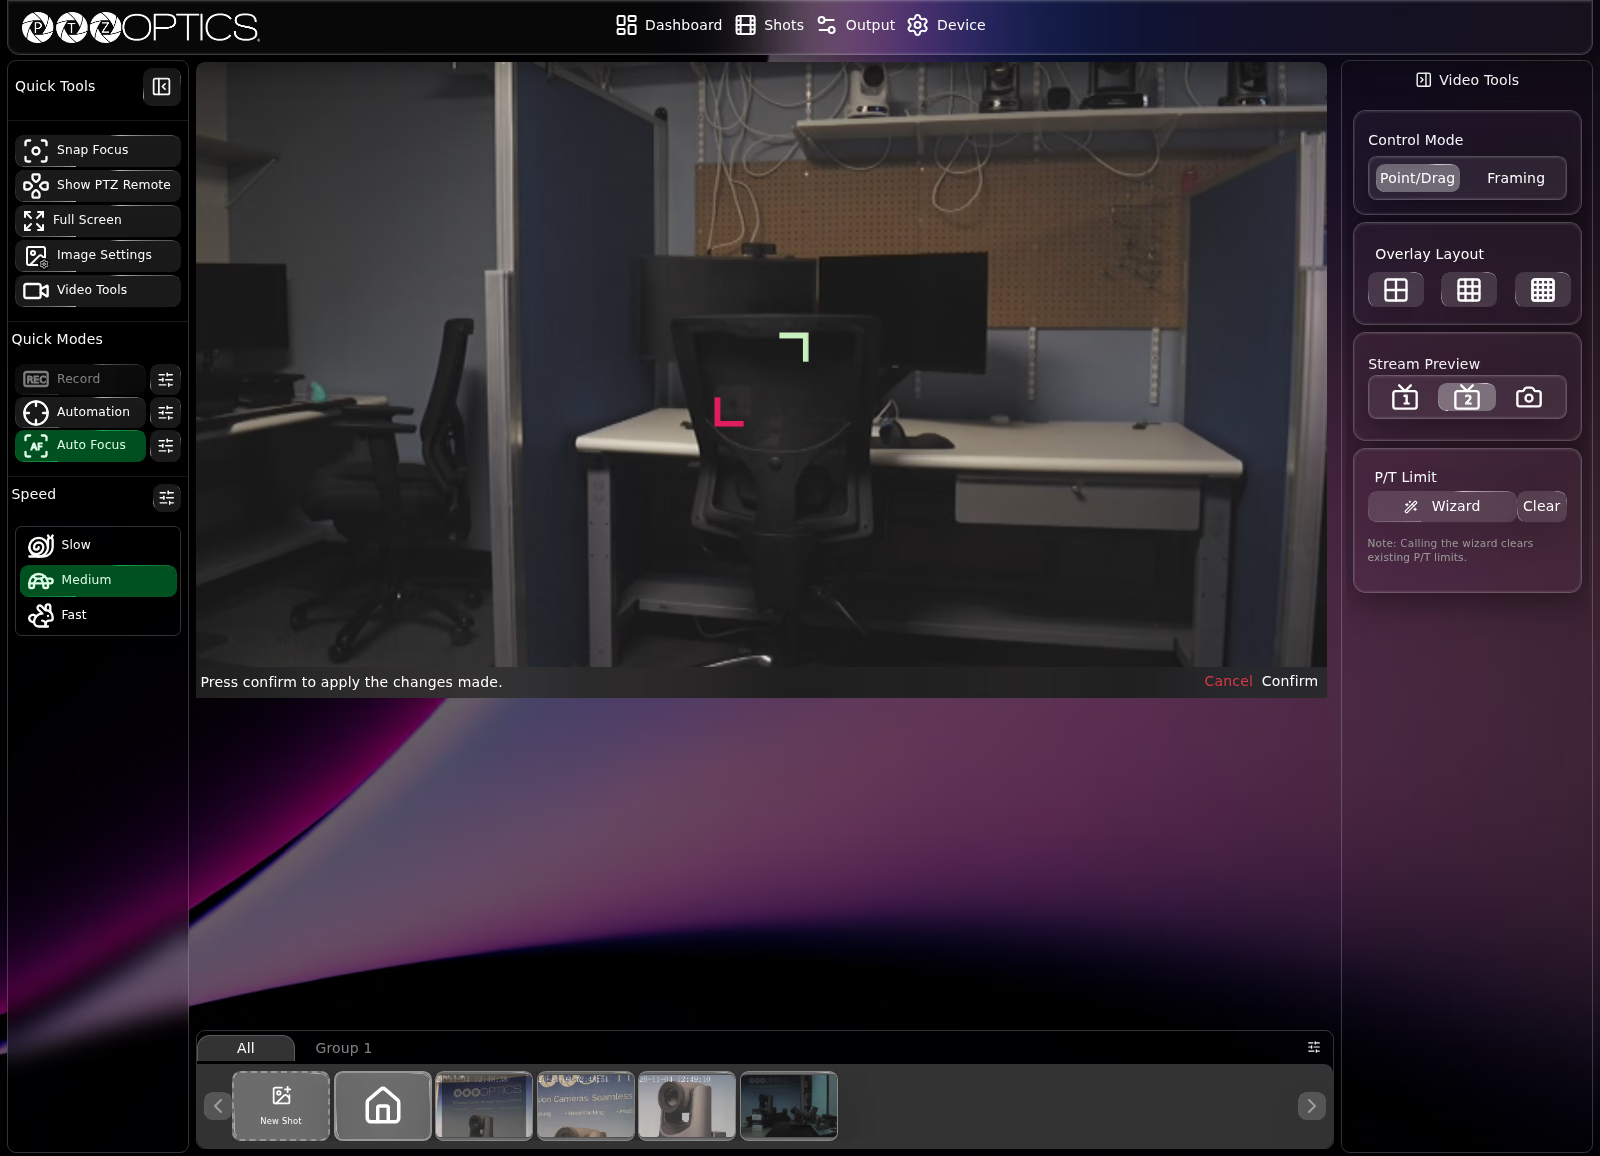
Clear Pan/Tilt Limits
Select Clear under P/T Limit to remove saved pan and tilt boundaries and restore full movement range.